
On WWDC2019, Apple decided to fork iOS into two different operating systems: iOS for iPhones, and iPadOS for iPads. This is to recognize the iPad as its own independent entity that has its own set of features compared to iOS. Amongst those features, iPadOS adds Multiwindow support, which allows our apps to run in more than one Window at the same time.
What exactly is Multi-window support, and how does it work?
iOS 9 introduced the Slide Over and Split Screen features for iPad, which allowed us to run two different apps side by side at the same time. Multi-window support on iPadOS allows you to do this with two windows of your own app, and more.
 The original Slide Over and Split Screen allowed you to open two different apps at the same time.
 On iPadOS, you can now have two windows open for the same app at the same time.
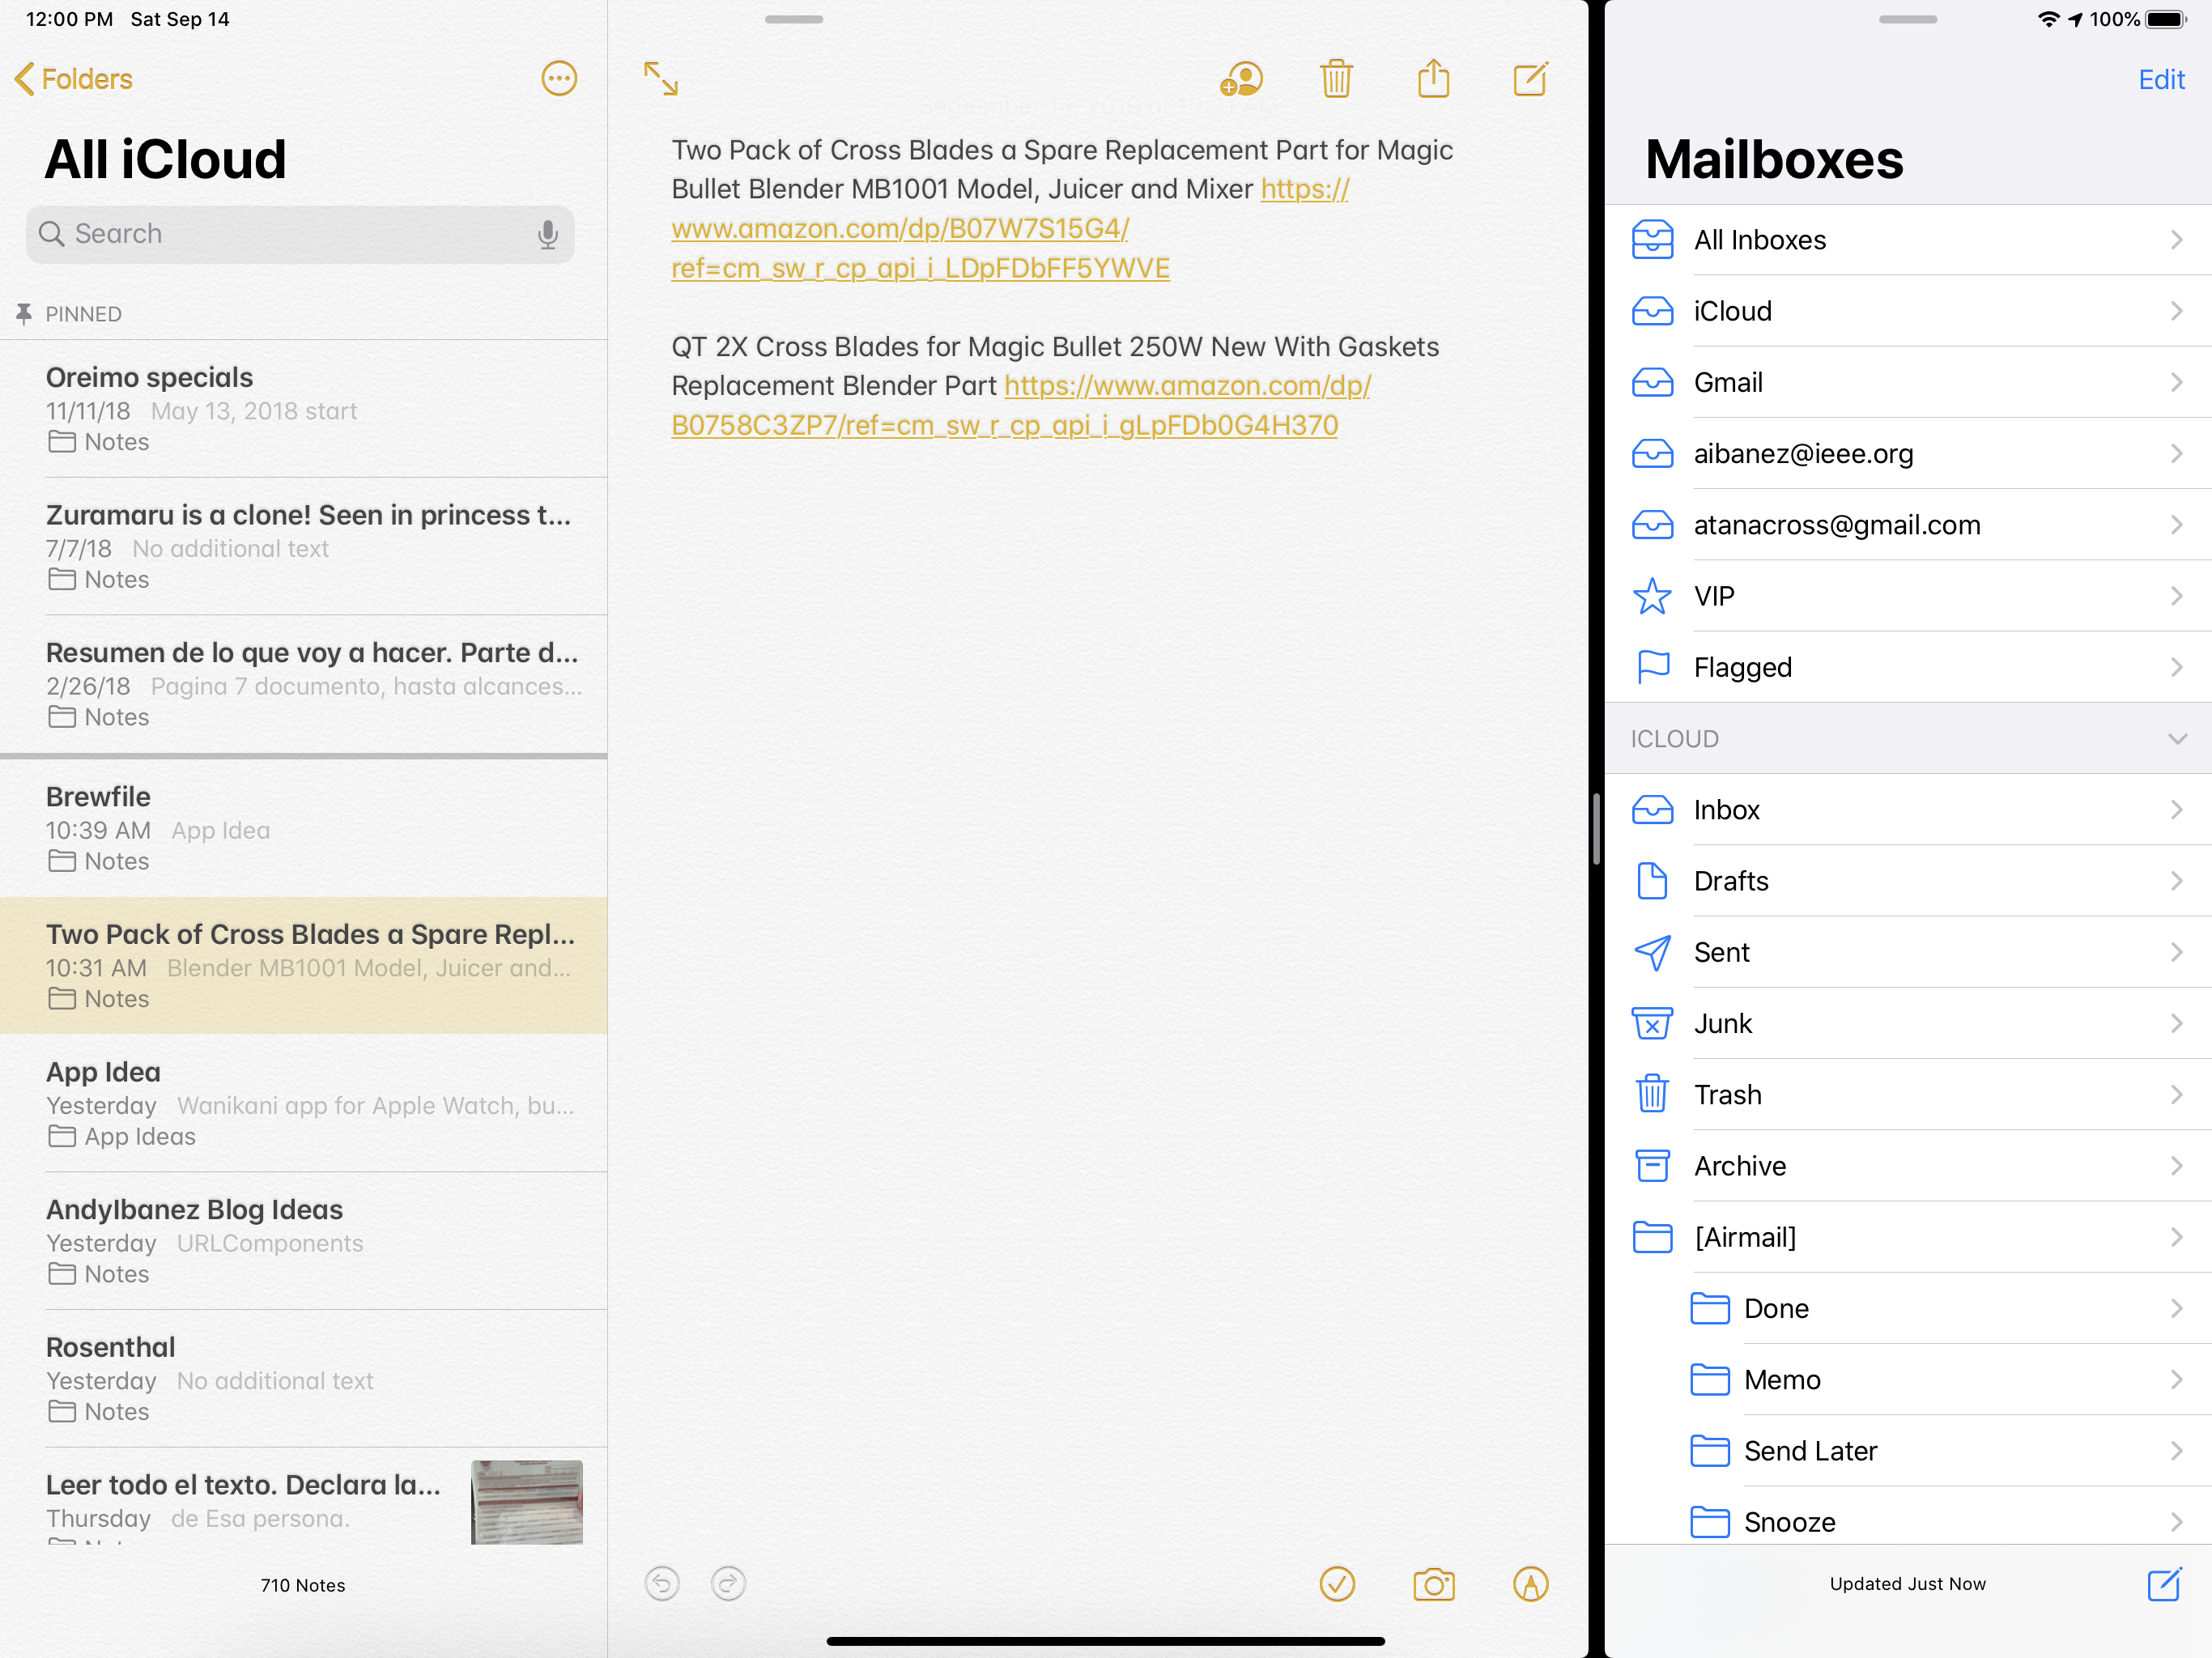
You can even have open multiple instances of the same app (though only have two visible at the same time) if you are working with multiple documents. The Notes.app is a perfect example of this.
 When you open the App Switcher and slide the current open app up, you will see all the Windows open for that app and can open any of them easily
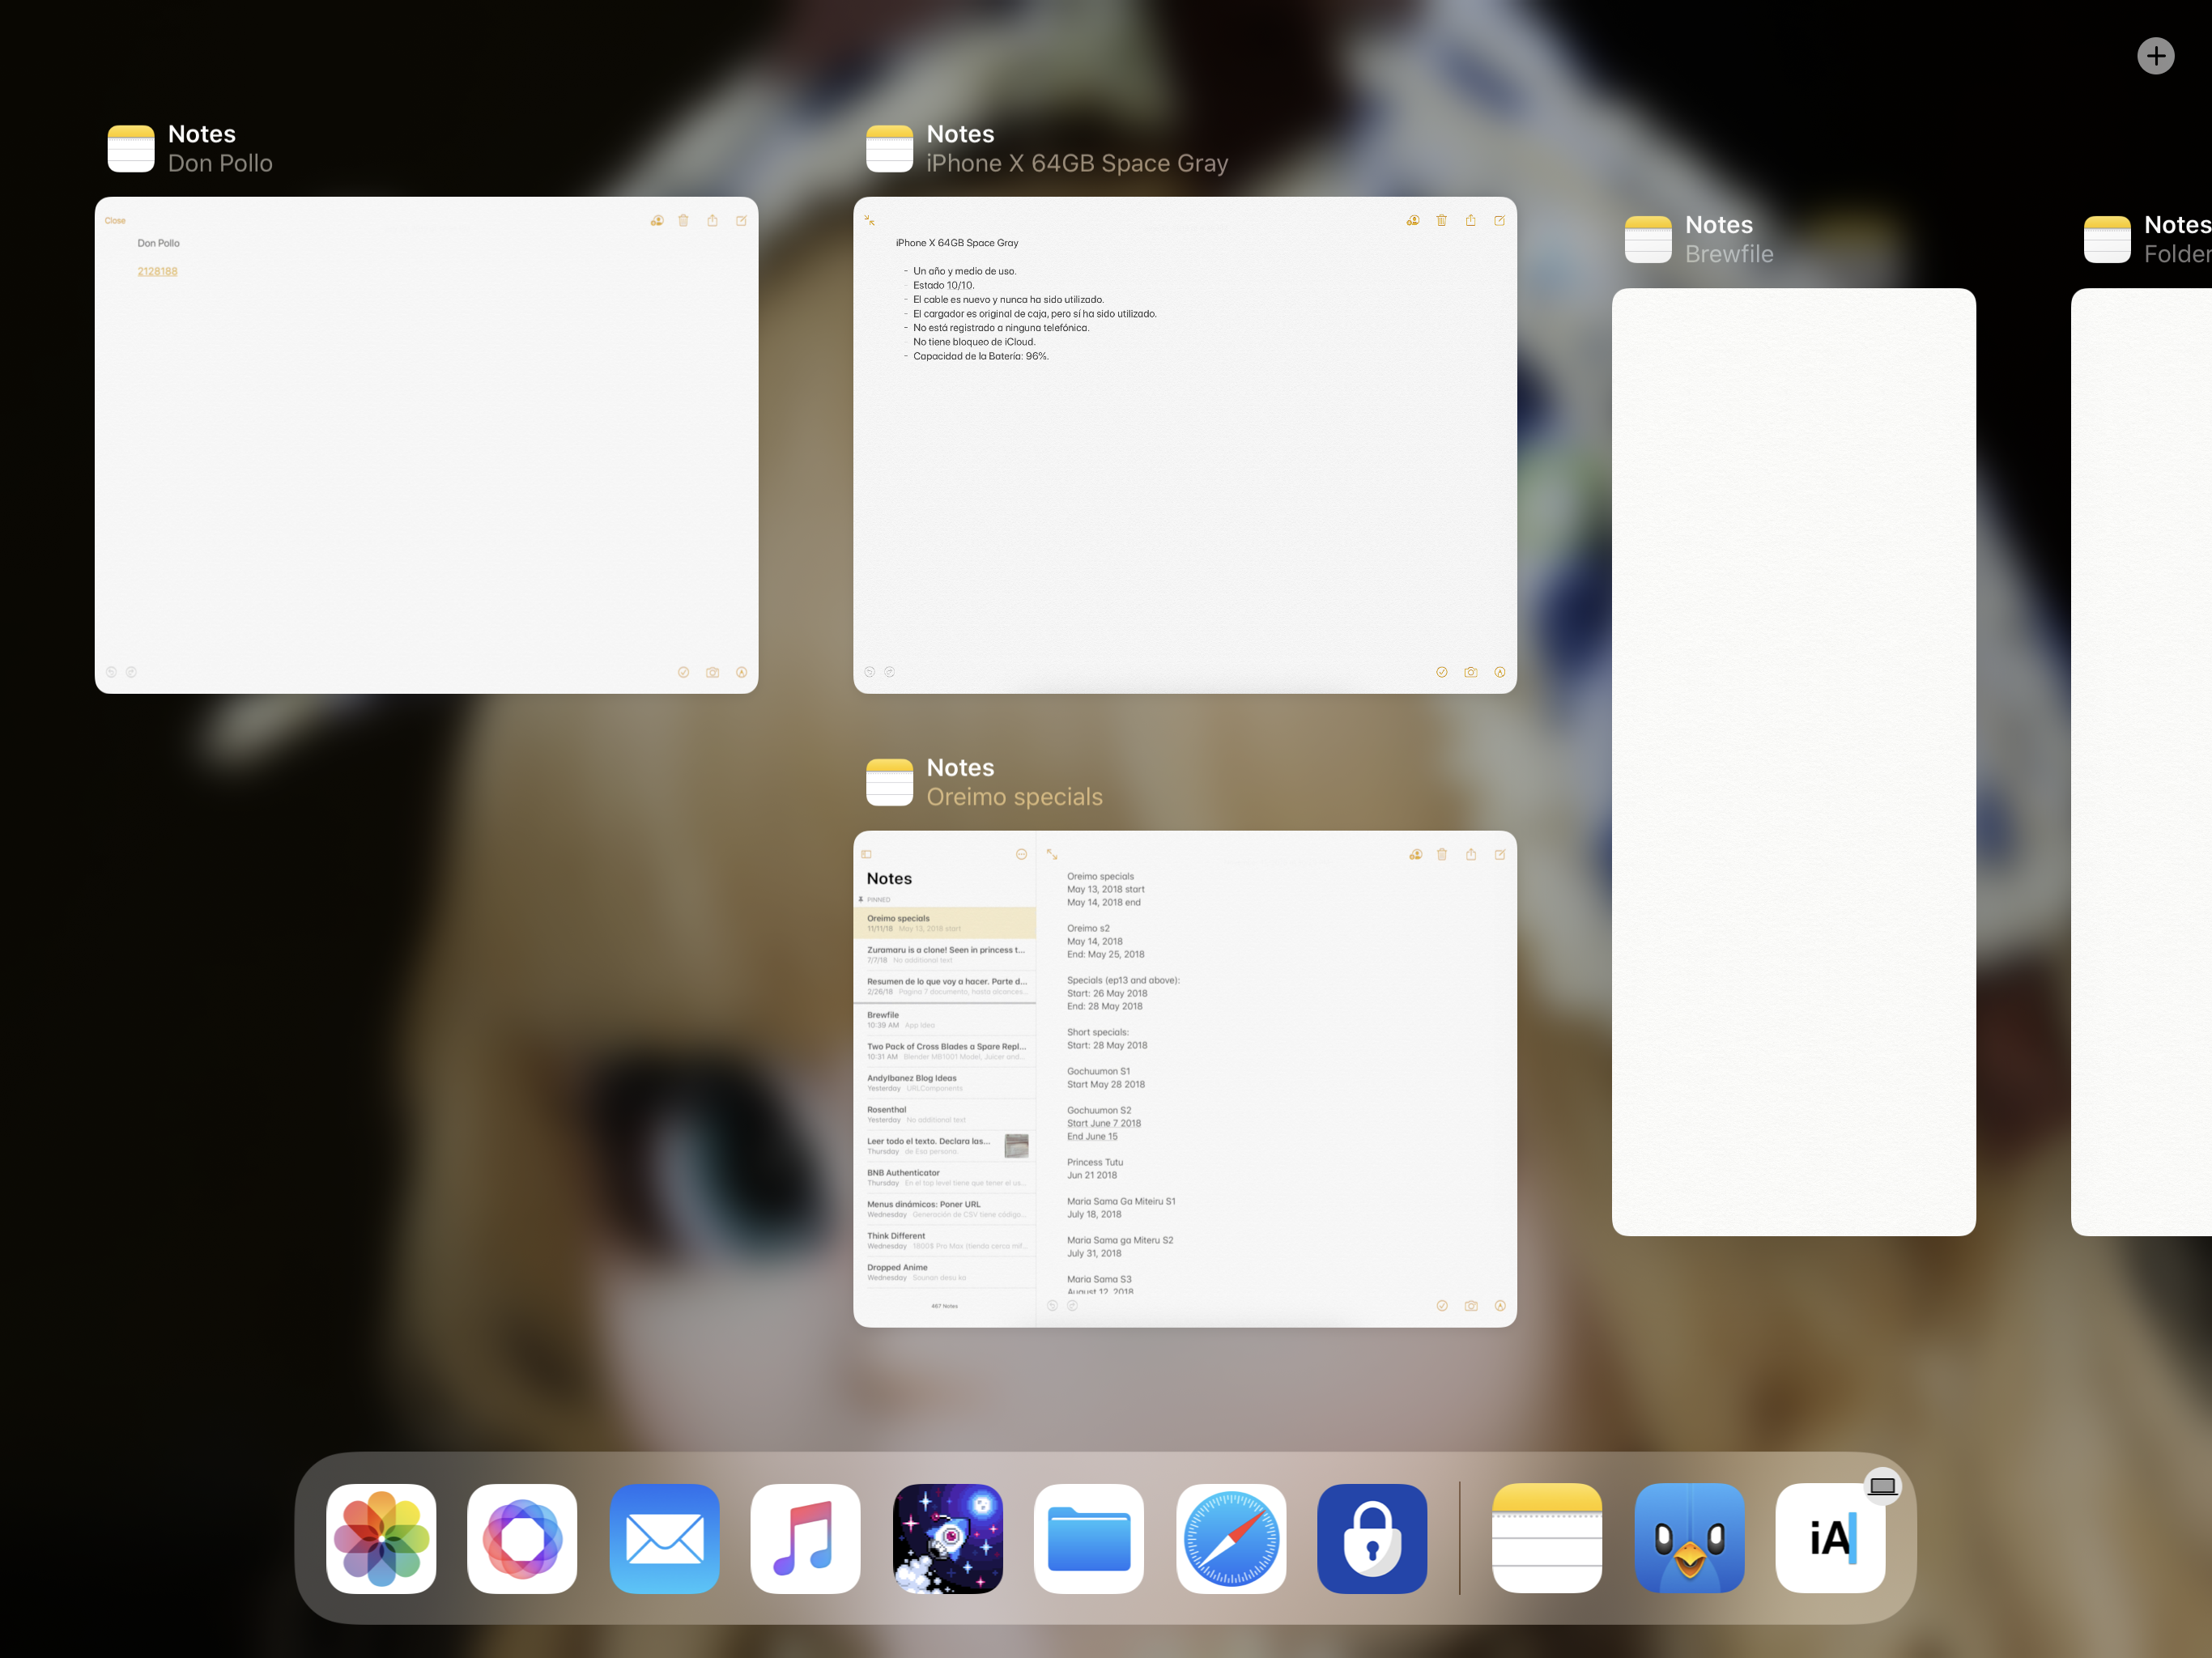 There is also the equivalent of Mission Control for currently open apps.
You can put an app floating on top of another one, and stack different windows for the same app or different apps.
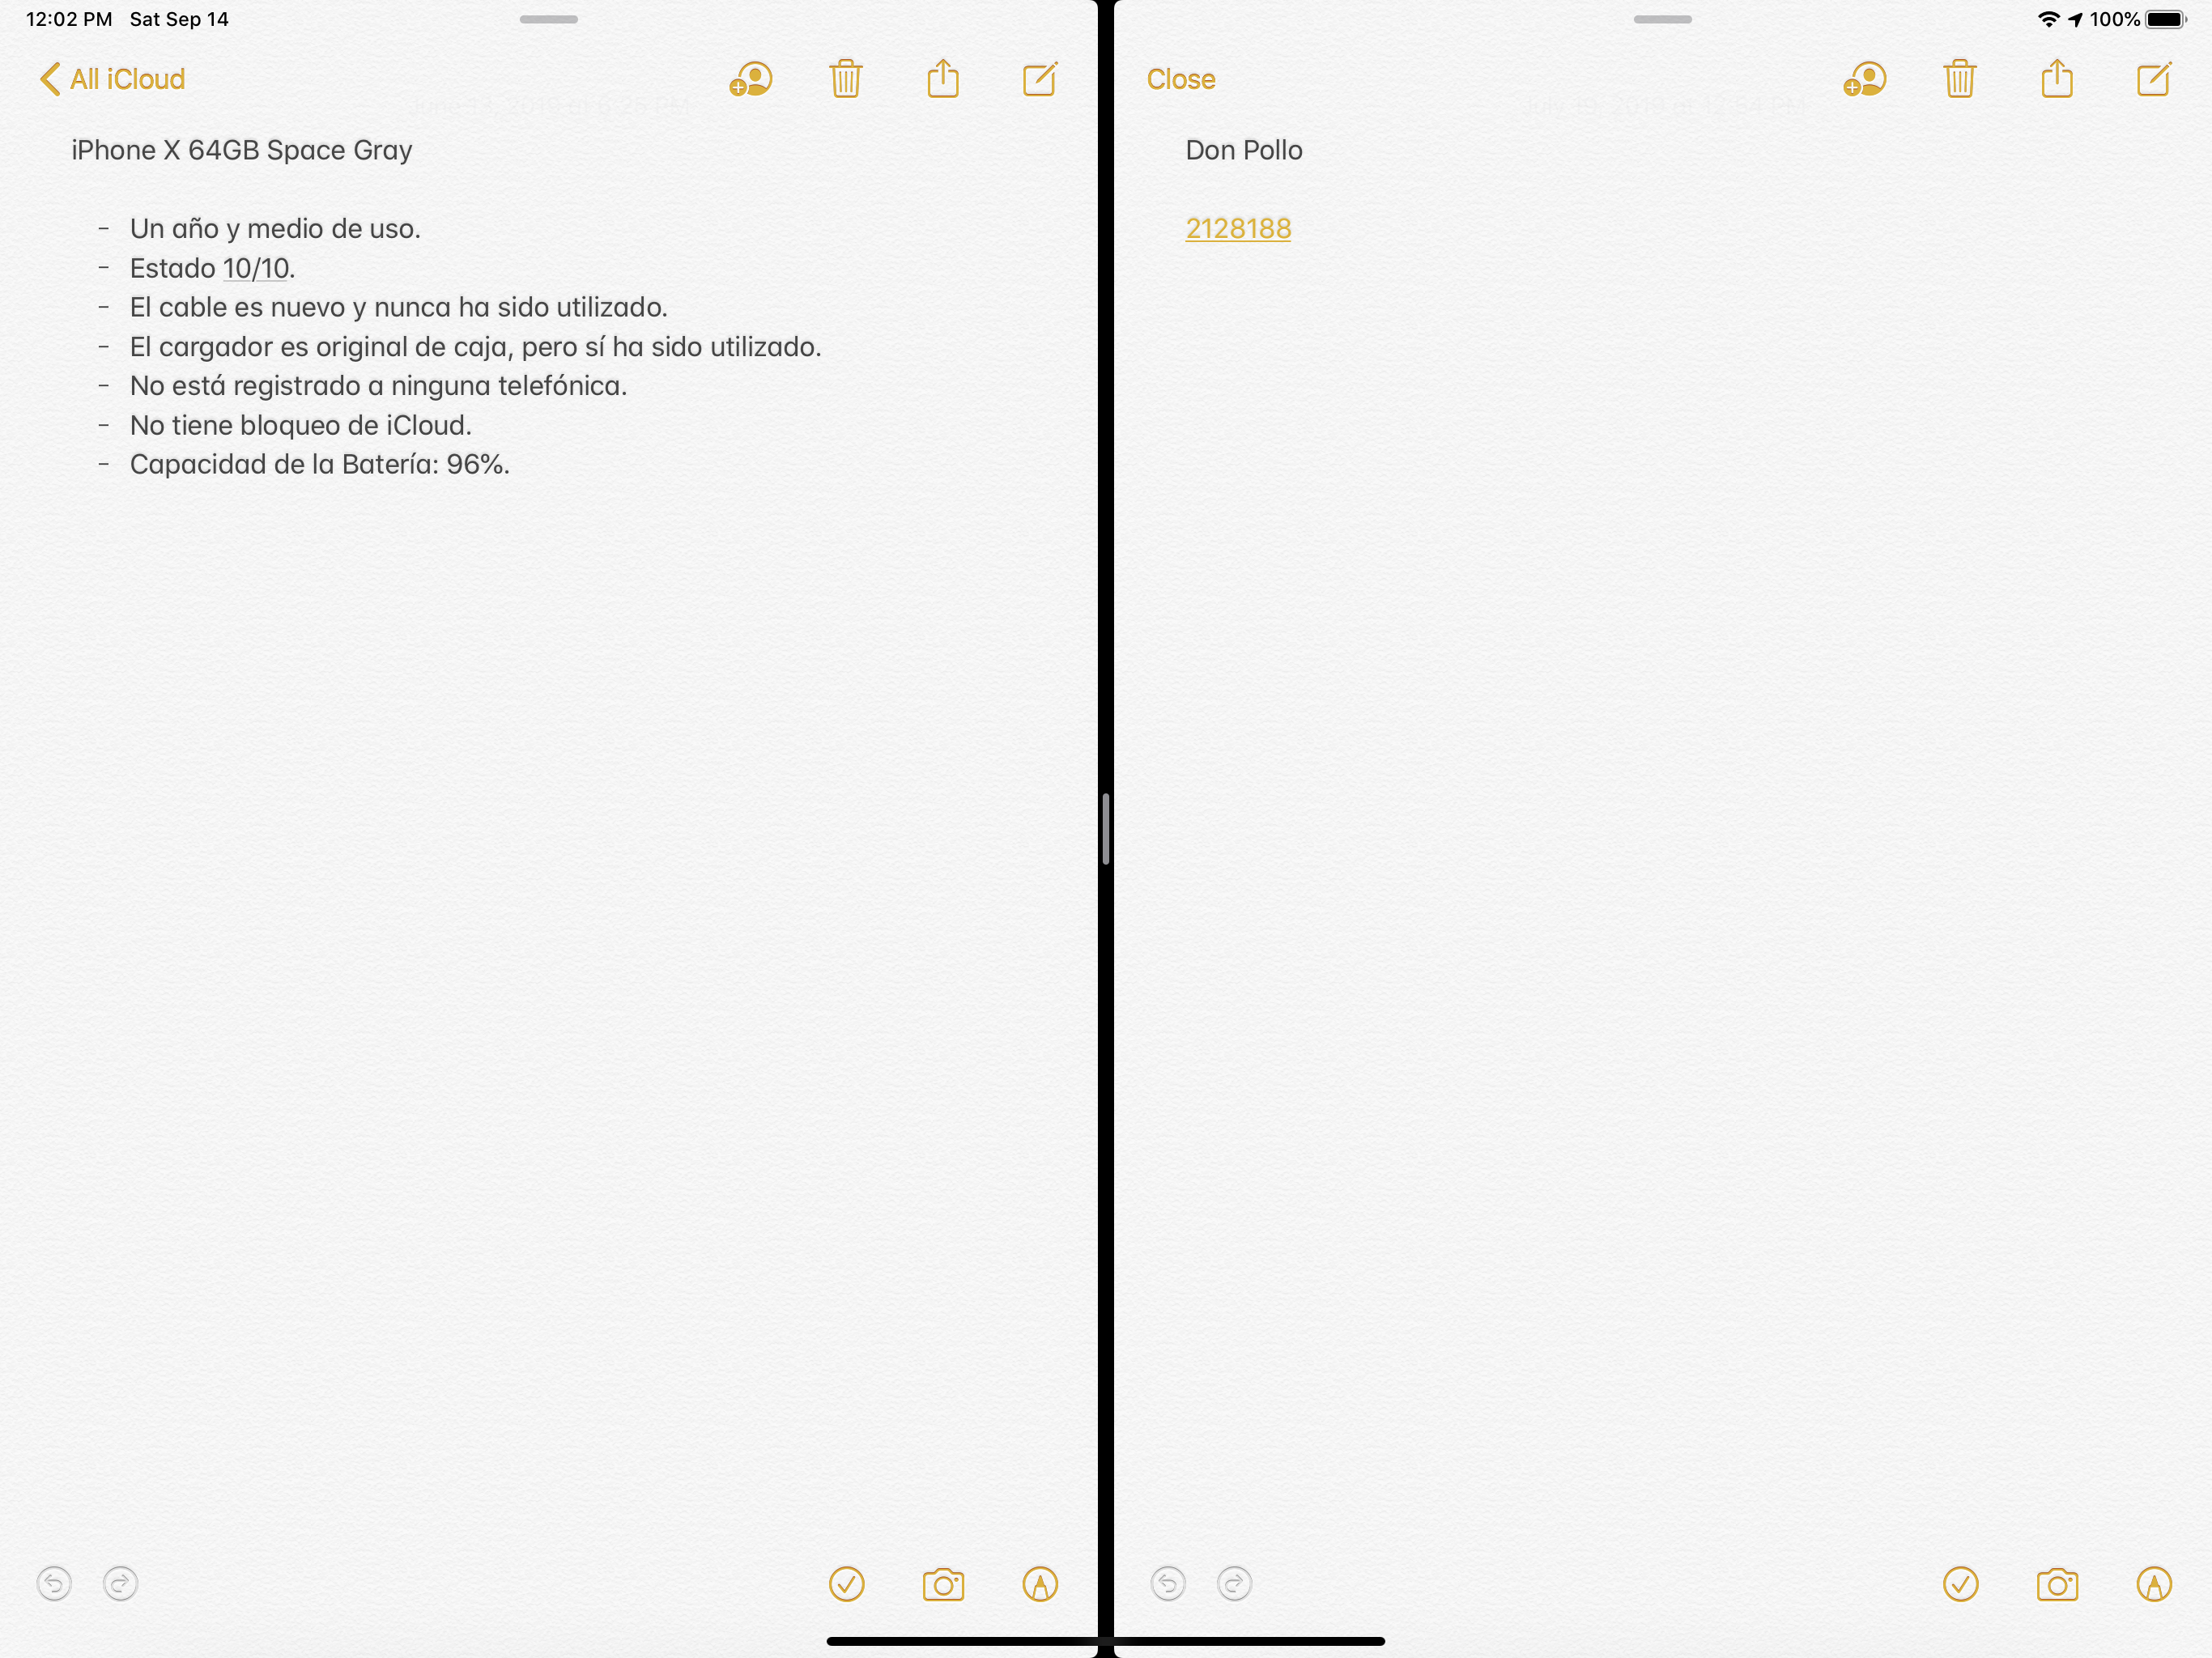
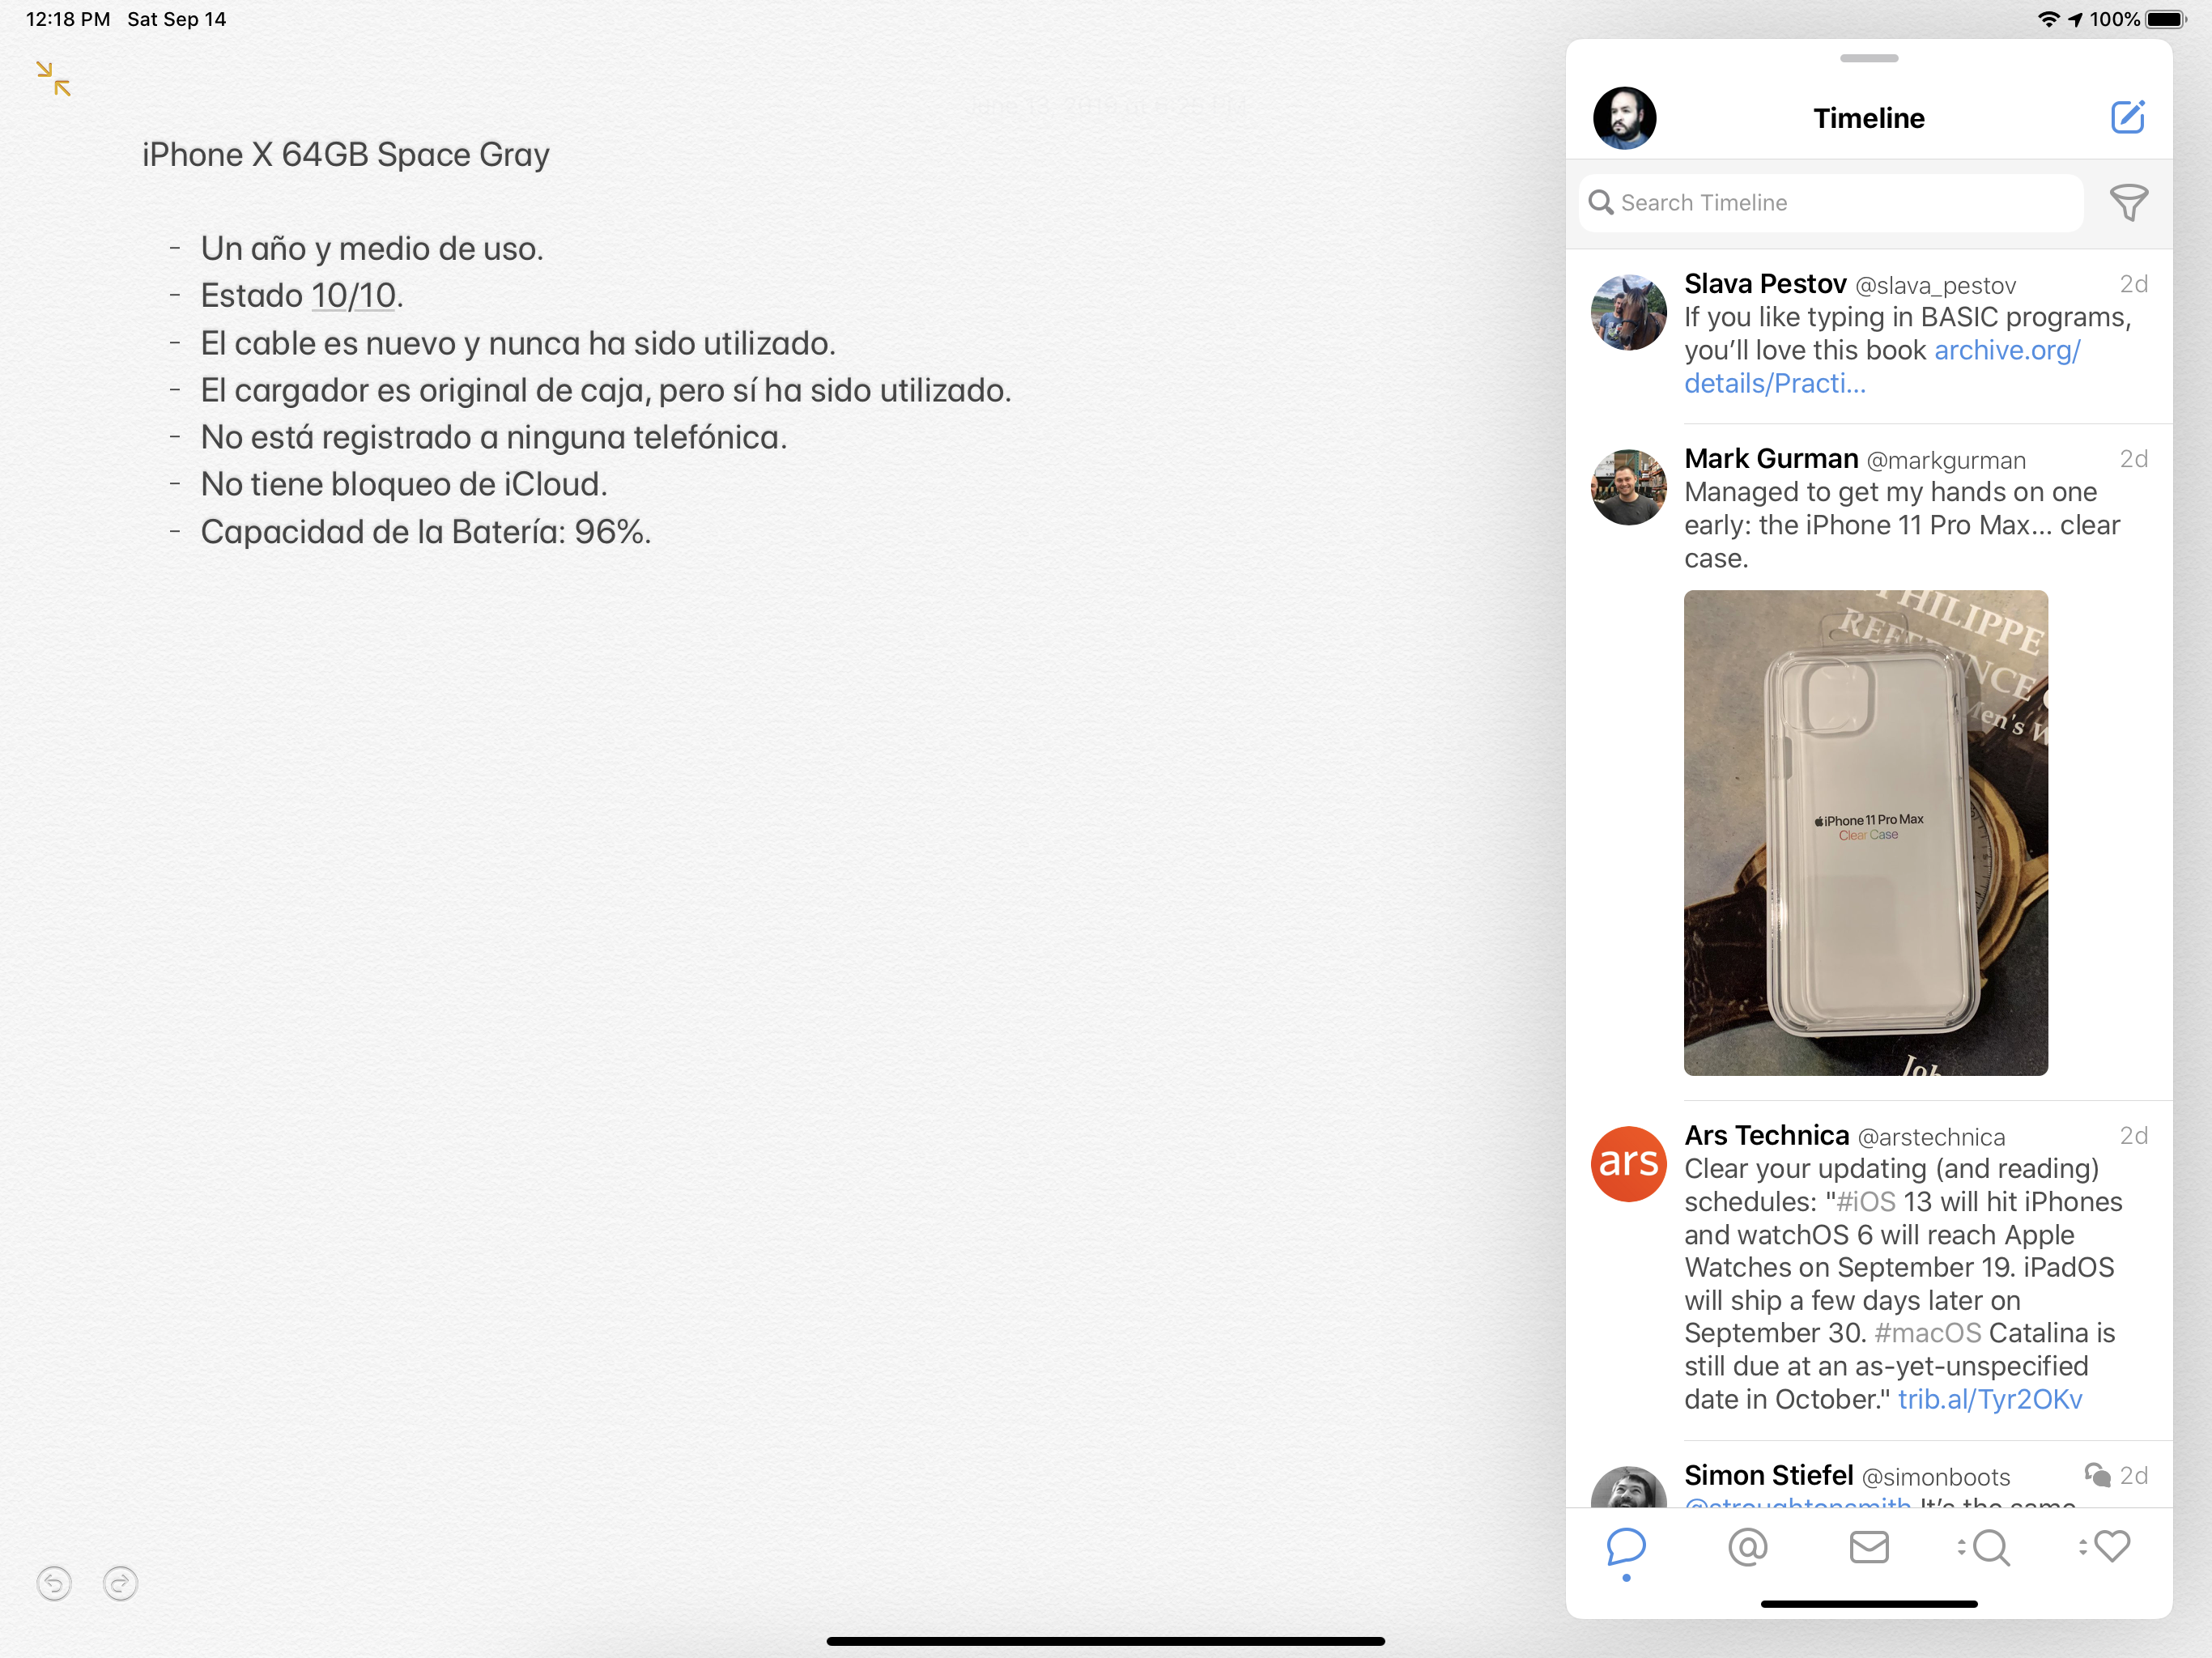 The Notes.app is open and I have Tweetbot on top of it. This is useful if you are not heavily working with two documents but need to switch often between different apps.
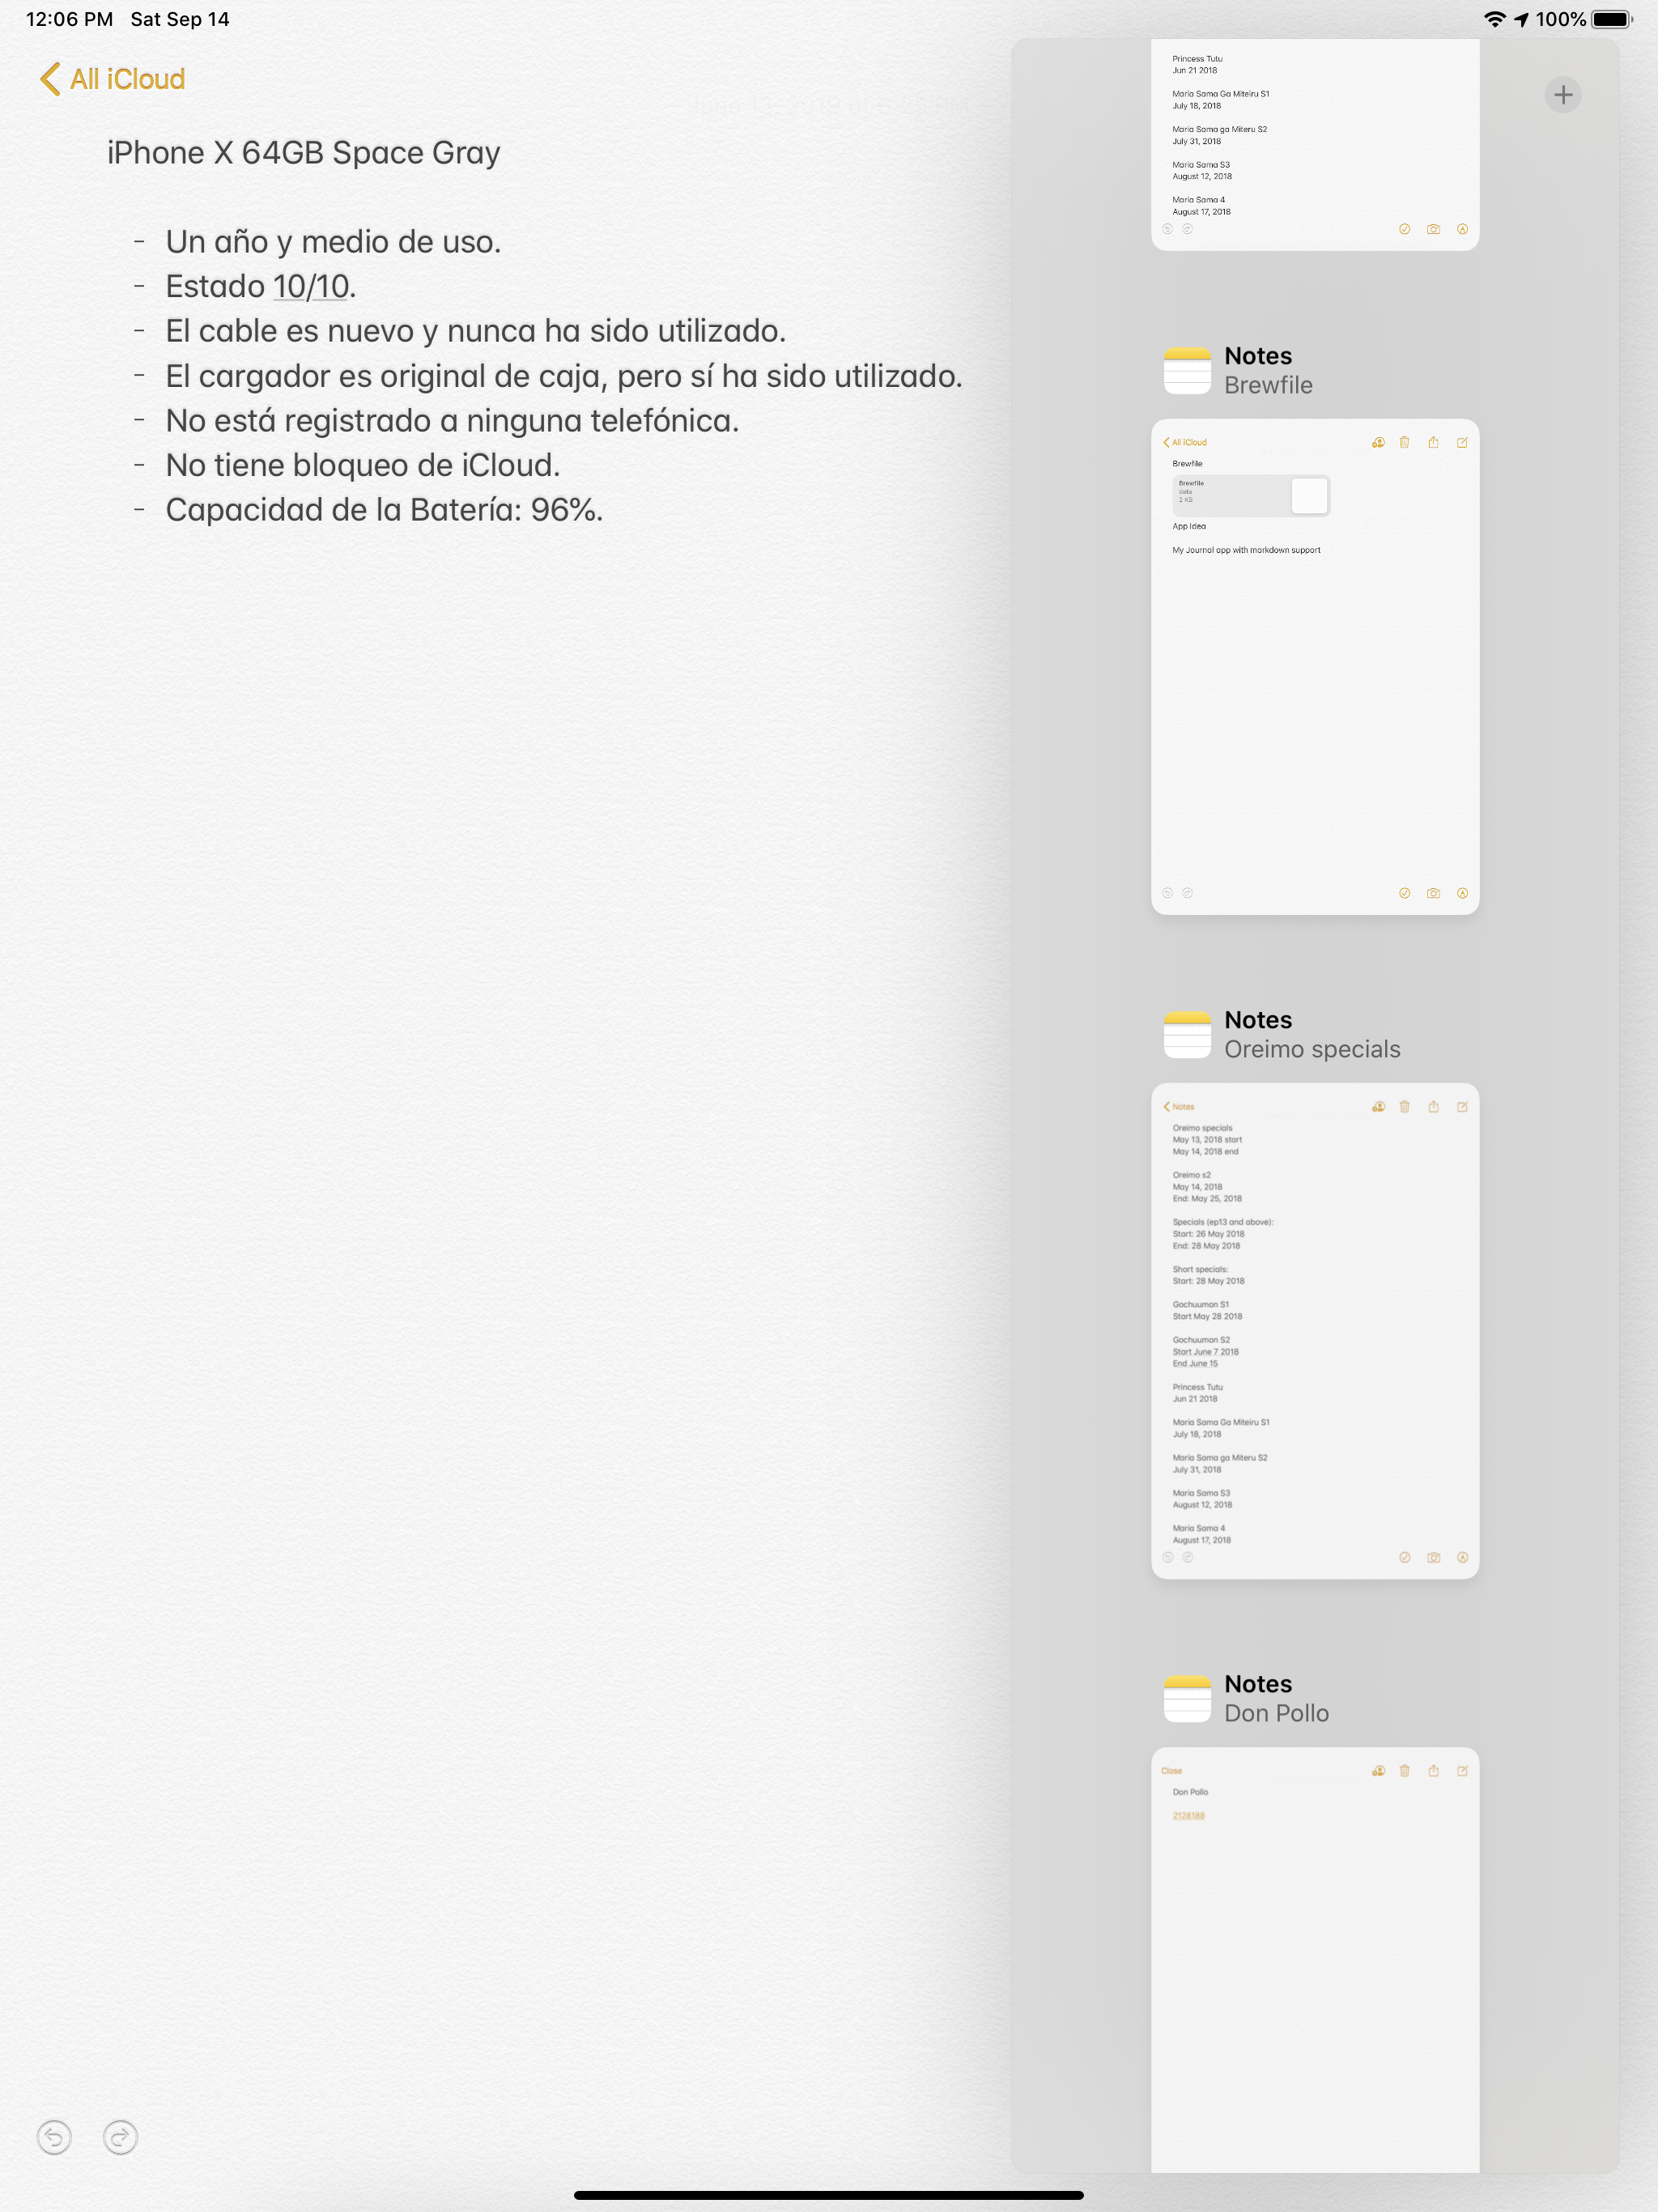
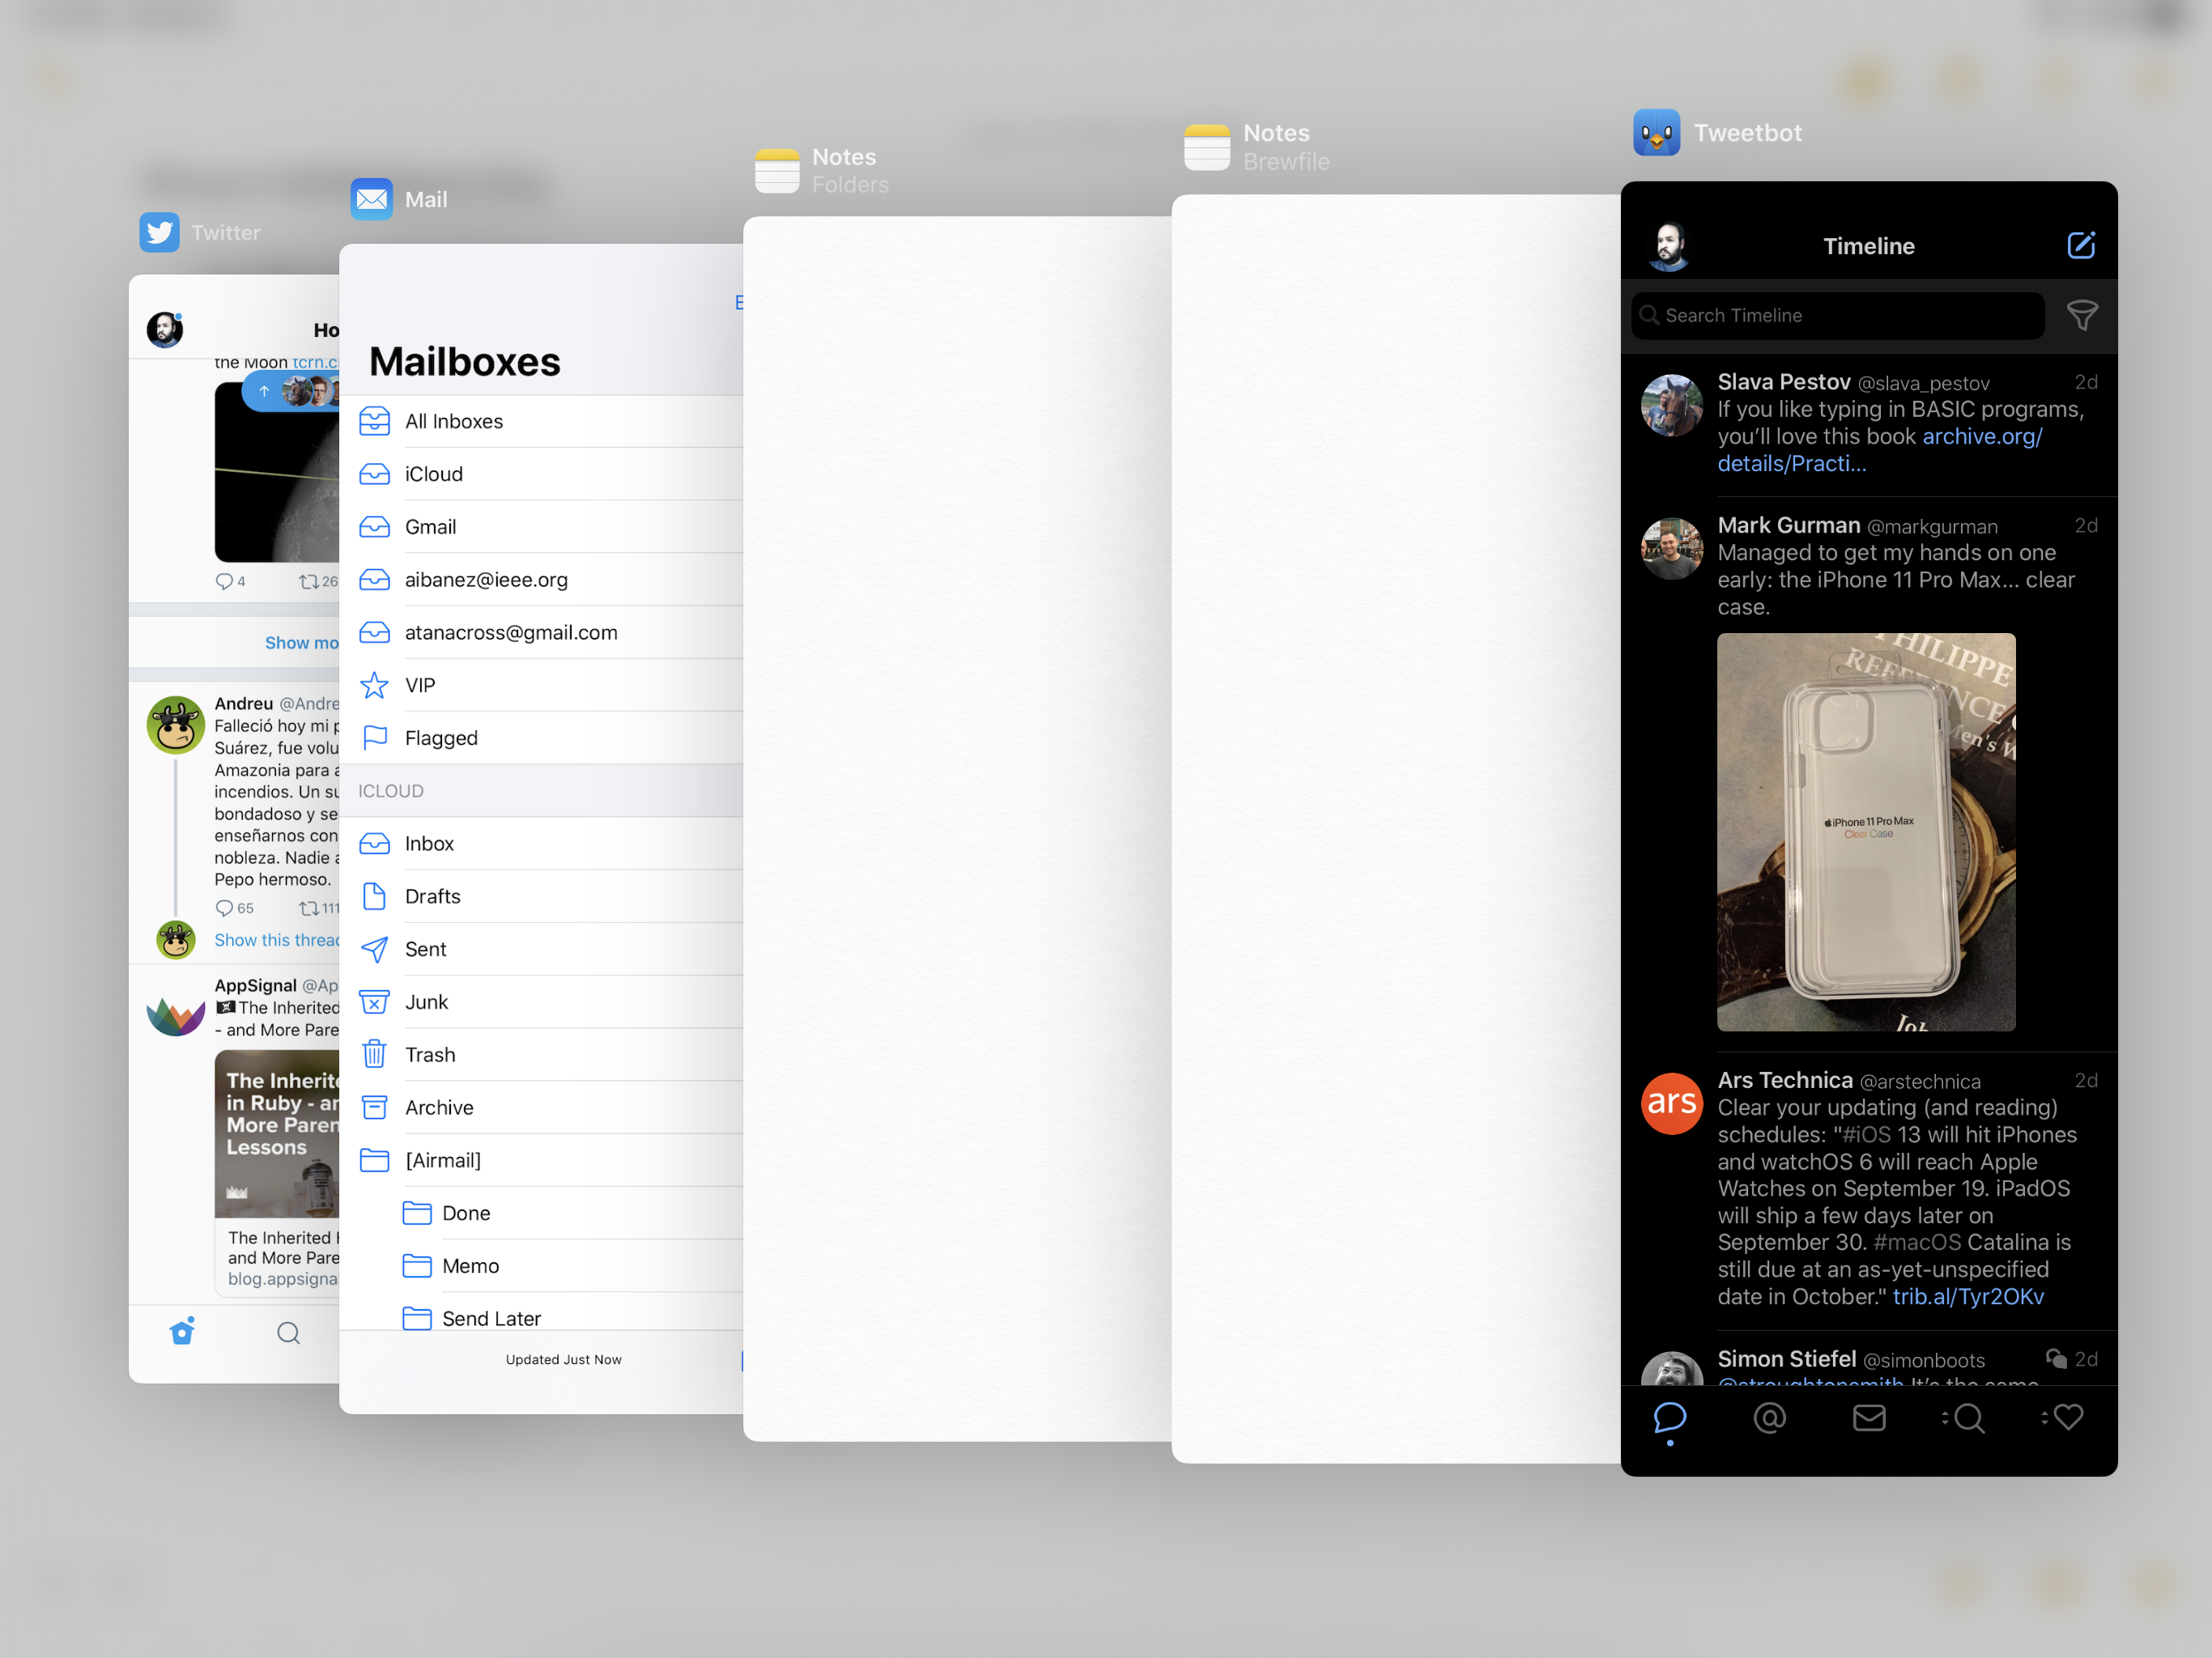 If you slide up the Tweetbot Window, you will see all the Windows you have open for both the current app, and other apps. In this screenshot, the Notes.app is running full-screen, and I have Windows for Tweetbot and a few others, along with two Windows for the Notes.app.
Multi-window support is great and many of your users will expect it to work with your app when iPadOS 13.1 launches at the end of the month. Unfortunately, the majority of this functionality does not come free. If you added Slide Over support for iOS 9 and above, you have a few cases covered, but to actually support multiple windows at once, you have a bit of work to do.
Implementing Multiwindow on iPadOS.
The set of APIs you use to implement Multiwindow support is the UIScene APIs. These includes:
With these APIs we can implement Multiwindow Support in our apps with as little effort as possible.
Understanding Scenes
“Scenes” is just a fancy name for windows. Whenever you see the word scene, think of a window.
Where to add scenes in your app
It doesn’t always make sense to support multiple windows. If you decide to add them, you have to consider what users think of them. It’s important that users can do everything in just one window, and if your app NEEDS multiple windows, your app can be confusing to use.
Document-based apps are very good candidates to add Multiwindow support. Apps like Notes, Pages, and Numbers support Multiwindow and let you open multiple documents at once.
Apps like Safari support multiple windows of the same “type” (A web browser). It makes sense to have multiple Safari windows open, but they are all going to have the same thing in them: A website.
In the case of Mail, you can open multiple e-mails, but you can also open different compose windows as you need them.
Messages allow you to open different threads in different windows.
Catalyst Support
Multiwindow apps are fully supported on the Mac.
What interactions that should support multiple windows?
On iPadOS, you can drag and drop multiple elements to create new windows. In the Notes.app, you can drag and drop notes in the notes list to create a new window. Safari lets you drag and drop tabs to create windows for them. In master-detail views, which is what the Notes.app is, users are going to expect this behavior, so you should definitely look into implementing it.
On Safari, if you press and hold on a link, you get the option to open in a new Window. The API offers a lot of functionality to open new windows through different kinds of interactions.
App Lifecycle Changes
If you have been programming for iOS for a while, there is a very drastic change to how the lifecycle of the application works. Many things that have been there since the very first public SDK have either been changed or removed. This is a very big change, but if you adapt to it you shouldn’t have problems supporting multiwindow support in your apps. Older apps may have problems adapting to it, though.
If you create a new iOS 13 project, one of the first things you will notice is that the app delegate has lost weight, it has lost some methods, and it has gained a new ones. This is what the App Delegate looks like in Xcode 11 GM 1:
@UIApplicationMain
class AppDelegate: UIResponder, UIApplicationDelegate {


    func application(_ application: UIApplication, didFinishLaunchingWithOptions launchOptions: [UIApplication.LaunchOptionsKey: Any]?) -> Bool {
        // Override point for customization after application launch.
        return true
    }

    // MARK: UISceneSession Lifecycle

    func application(_ application: UIApplication, configurationForConnecting connectingSceneSession: UISceneSession, options: UIScene.ConnectionOptions) -> UISceneConfiguration {
        // Called when a new scene session is being created.
        // Use this method to select a configuration to create the new scene with.
        return UISceneConfiguration(name: "Default Configuration", sessionRole: connectingSceneSession.role)
    }

    func application(_ application: UIApplication, didDiscardSceneSessions sceneSessions: Set<UISceneSession>) {
        // Called when the user discards a scene session.
        // If any sessions were discarded while the application was not running, this will be called shortly after application:didFinishLaunchingWithOptions.
        // Use this method to release any resources that were specific to the discarded scenes, as they will not return.
    }

}
Adopting the UIScene Lifecycle
UIWindowScene and UISceneSession are the main APIs used for Multiwindow support.
Conceptually, your app is still going to have one UIScreen, but on top of that UIScreen you may have one or more UIWindowScenes, and each UIWindowScene may have multiple UIWindows. UIWindows can still hold one or more UIView.
A Scene contains your user interface, and the system will crate it on-demand for you. The system will also destroy it as needed.
A UISceneSession represents a persistent UI state of what your users were doing last. They have a defined system role. Every time a new window is created in the system, your app is notified through its delegate that a new Window has been created. UIScenes connect and disconnect from these sessions over the lifetime of your app.
A significant change is that the app delegate used to handle a lot of events for us. The delegate is still going to process events and lifecycle related to events (background tasks and the like), but a lot of the work hs been delegated to the UIScene APIs. A UIWindowScene will manage your apps UI state. The UIWindowSceneDelegate will be notified of events related to UI and lifecycle. The UISceneSession persists your UI state.
Where you used to ask questions regarding the UIStatusBar to the app delegate, the question now needs to be asked to the scene instead. The app delegate, which also used to be responsible for opening URLs, no longer does this. Instead the UISceneDelegate now handles all the open URL operations instead. Going to the background, foreground, and those app lifecycle events are now handed to the scene as well. Do you want to know if the app has finished launching? You no longer handle that in the app delegate, instead you do it in the scene delegate’s scene(_:willConnectTo:options:) method. I really recommend you check the documentation to learn how the app delegate has been spread across the UIScene API.
Because of the lifecycle changes, a lot of UIApplication methods have been deprecated. These include:
statusBarStylestatusBarHiddenstatusBarOrientationopen(_:options:completionHandler)keyWindow
Remember to ask the window scene for these properties from now on:
UIWindowScene.statusBarManagerUIWindowScene.interfaceOrientationUIWindowScene.open(_:options:completionHandler:)- And for windows, track them manually.
State restoration is now a NSUserActivity which is requested from the UISceneDelegate. You can access it any time through the UISceneSession.stateRestorationActivity property.
Creating Scenes with Code
The system can create scenes for you when the user interacts with your app via storyboard. In Exposé for example, you can tap the “+” button to create a new window in apps that support it.
But it’s also possible to create new scenes with code. UIApplication has some methods to make this possible. As we said, the system will create UIScenes so you never have to worry about creating a UIScene yourself. Instead let the system know you want a new scene with these calls:
requestSceneSessionActivation(:userActivity:options:errorHandler:): Use this method to create new scenes. Pass it theNSUserActivityit will need to create new windows.updateSceneSessionRefresh(_:): Update existing scenes.requestSceneSessionDestruction(_:options:errorHandler:): To close scenes.
You can use these methods to create new methods based on user interaction. Whether you have a button that is explicitly called “open document in new window” or want to respond to drag events, you can use these methods to create new scenes.
Learn More
I focused the majority of this article in the Introducing Multiple Windows on iPad WWDC19 session video. I tried to summarize the most important parts of the video.
Conclusion
Multiple Windows on iPad are a game change for the platform. The UIScene APIs give a lot of flexibility without offering an over-complex API.
Users are going to expect apps to support. See how Apple implements multiwindow support to get ideas about how you can implement them yourself.
You should be careful of the application lifecycle changes before you implement it, as the lifecycle we have known for the past 10 years has finally been changed.