
In 2018, Apple introduced the App Store Connect API. We as iOS developers interact with App Store Connect almost daily. We like to see our sales reports, analytics, check how our apps are doing. Occasionally, we may need to register a new device or manage our users.
Many of these tasks are so common that it was necessary to get an App Store Connect API at some point. Having an API allows us to automatize some aspects of our day to day tasks on App Store Connect, and to make some tasks easier and faster. In this article, we will explore a few features of the App Store Connect API.
The App Store Connect API.
Apple provides us with a nice and simple RESTful API, meaning that all you need to do to interact with it is perform a few pure HTTP calls. We need to authenticate ourselves providing a JWT (Jason Web Token) token.
Current Features
At the time of this writing (December 2020), App Store connect offer us endpoints for the following tasks:
- App Management: We can create new versions of our apps, configure pre-orders, manage manage phased releases of new versions, and even submit our apps for review.
- App Metadata: We can edit our apps metadata, such as managing assets, edit the description, managing screenshots, and app previews.
- *Pricing and Availability: You can manage your app’s price and availability, price tiers, and more.
- Power and Performance: Introduced in WWDC2020, we can use this tool to monitor performance for our apps. We can get data for launch times, hang rates, disk writes, memory use, and battery life. This is the same API Apple uses to make such info available in Xcode.
- Provisioning: Manage bundle IDs, certificates, development devices, and provisioning profiles.
- Reporting: Manage Sales and Trends, allowing you to see first-time downloads, sales, proceeds, pre-orders, subscriptions, and more. We can also view our Payments and Financial reports with earnings by product, territory, currency, price, and more. The API will even show you how much you were paid each month and any money Apple may have withheld for tax or other reasons.
- TestFlight: You can automate tester management and build distribution. You can remove and add testers, manage tester groups, manage builds based on testers and tester groups, submit builds to beta review, and more.
- Users and Roles: You can manage Users and Roles. If you work on an organization, you can integrate with your own employee management tools, to have control over and link users between App Store and your own systems.
Requesting App Store Connect API Access
Requesting Permission
To request App Store Connect API access, visit this link. You need to be the Account Holder to finish the process.
I was under the impression that I needed approval and that my request would be reviewed manually. However after agreeing to the prompts, my request was instantly approved and I was able to use the API. I do not know if this is the case for everyone, or Apple does review some requests manually.
Keys and Access Tokens.
You need to create API keys, which you later use to create JWT access tokens.
Generating Keys.
You can create up to 50 API keys, and you can limit the API access for each key. Once you create a key, you cannot edit its permissions.
Click the “Generate API Key” button, and you will be greeted with the following view:
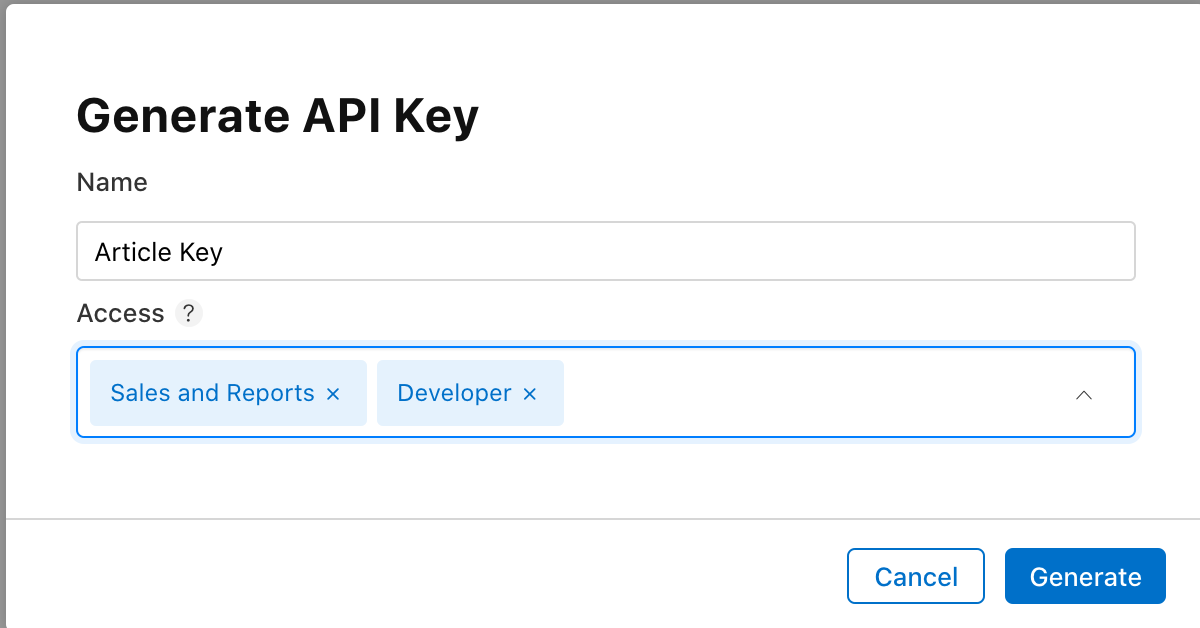
You can give it any name you want and select the permissions. If you choose “Admin”, your key will automatically get all the permissions, but you can pick and choose stricter permissions and as many as you need for your particular scenario.
I named mine “Article Key” and chose “Admin” as the key type.
Note: You probably know this, but just in case, do not share your API keys with people you don’t trust! While it may make sense to create keys for specific members of your team, remember that the keys have power over the specific permissions you granted when creating them. If your keys fall in the wrong hands, damage CAN be done. Shall your keys be compromised, you can revoke them from the same screen where you generated them.
Once you create the key, you have to download it. This is a file with a .p8 extension. You can only download your key once, so make sure you don’t lose it later.
Make a mental note of the Key ID (this info is always visible), as you will need it to generate your JWT tokens.
Generating Access Tokens
JSON Web Tokens are JSON payloads encoded in Base64 and signed with your private key for their transmission to the App Store Connect API server. You can create your token with any text editor.
To create the token you will need the following info:
- Your private key (the
.p8file you got earlier) - Your KEY ID (This is visible in the same screen where you generate API keys - the one I linked you to above).
- Your Issuer ID. To get this, go back once again to the page where you generate keys. The issuer ID is near the top of the page.
The JWT Token
We will now begin creating creating our JWT token. The token is made of a JWT header and a JWT Payload, both joined together and signed with our private key.
There are libraries out there that can do this for you. For this article, we will use the Ruby script Apple used at WWDC2018 to show how to generate the token. The script is below (token.rb):
require "base64"
require "jwt"

ISSUER_ID = "YOUR_ISSUER_ID"
KEY_ID = "YOUR_KEY_ID"

PATH = "PATH_TO_YOUR_P8_FILE"

private_key = OpenSSL::PKey.read(File.read(PATH))

token = JWT.encode(
   {    iss: ISSUER_ID,
    exp: Time.now.to_i + 20 * 60,
    aud: "appstoreconnect-v1"
   },
   private_key,
   "ES256",
   header_fields={
     kid: KEY_ID }
 )

puts token
You may need to install the Ruby jwt dependency for it. If you have Homebrew and installed Ruby with it, simply run gem install jwt in a Terminal window and you will get the dependency.
When you run the script (ruby token.rb), the console will print out the token you can use, with a lifetime of 20 minutes from the time it was generated.
Using the API.
Once you have the token, you can finally start using the API. You need to include your token in every call as a header field called Authorization with the format Authorization: Bearer YOUR_TOKEN.
The following is a complete cURL request you can run the terminal:
curl -v -H 'Authorization: Bearer [signed token]'
"https://api.appstoreconnect.apple.com/v1/apps"
If you don’t like the Terminal, you can also use something such as Postman to get a GUI.
In a future article, we will explore a little bit more of the features the API offers. I originally intended to make this article to explore the API itself, but I spent more time than expected generating the token. Look forward to that. In the meantime, you can download the OpenAPI specification from here and play around with what you find.
Conclusion
The App Store Connect API has many features to help with automation. It has seen steady growth in terms of features each WWDC, and we can expect it to become better.