
SwiftUI forces us to change our way of thinking when building iOS apps. It makes us change from writing our apps in MVC to MVVM.
In this article, we will explore how SwiftUI can be used with certain frameworks that aren’t “SwiftUI ready”. While this article uses CoreLocation as an example, keep in mind that you can use what you learn from this to integrate almost any other framework with SwiftUI, whether it is provided by Apple or not.
Understanding the Complexities
If you have tried to use SwiftUI with CoreLocation or similar frameworks that make use of a delegate, you may have found it to be very hard. Specifically, you may have found it that your core locations keep getting called over and over again with no clear reason.
One thing to keep in mind is that SwiftUI continuously creates and destroys views. When there is a state change, all views depending on it will be destroyed and recreated. This happens quite aggressively throughout the lifecycle of our SwiftUI apps.
To workaround this, SwiftUI provides us with specific property wrappers that store their values somewhere else rather than on the views directly. Two of such wrappers are @StateObject and @ObservedObject. What we need to do is to create a ViewModel that conforms to ObservableObject, and store all the relevant state there.
Writing the ViewModel
We will create our view model for one view. This ViewModel will be responsible for receiving core location events. In turn, our ViewModel will expose @Published properties that our Views can observe and update accordingly.
We will start with a very barebones implementation, and we will call it LocationViewModel.
class LocationViewModel: NSObject, ObservableObject, CLLocationManagerDelegate {
    @Published var authorizationStatus: CLAuthorizationStatus

    private let locationManager: CLLocationManager

    override init() {
        locationManager = CLLocationManager()
        authorizationStatus = locationManager.authorizationStatus

        super.init()
        locationManager.delegate = self
        locationManager.desiredAccuracy = kCLLocationAccuracyBest
        locationManager.startUpdatingLocation()
    }
}
For now, we will just expose the authorizationStatus as a @Published property. We will use this to manipulate our View depending on the authorization status.
I have written this tiny view to deal with the authorization status for location.

If you are following along, feel free to use this starting code.
struct ContentView: View {
    @StateObject var locationViewModel = LocationViewModel()

    var body: some View {
        switch locationViewModel.authorizationStatus {
        case .notDetermined:
            AnyView(RequestLocationView())
                .environmentObject(locationViewModel)
        case .restricted:
            ErrorView(errorText: "Location use is restricted.")
        case .denied:
            ErrorView(errorText: "The app does not have location permissions. Please enable them in settings.")
        case .authorizedAlways, .authorizedWhenInUse:
            TrackingView()
                .environmentObject(locationViewModel)
        default:
            Text("Unexpected status")
        }
    }
}

struct RequestLocationView: View {
    @EnvironmentObject var locationViewModel: LocationViewModel

    var body: some View {
        VStack {
            Image(systemName: "location.circle")
                .resizable()
                .frame(width: 100, height: 100, alignment: .center)
                .foregroundColor(/*@START_MENU_TOKEN@*/.blue/*@END_MENU_TOKEN@*/)
            Button(action: {
                print("allowing perms")
            }, label: {
                Label("Allow tracking", systemImage: "location")
            })
            .padding(10)
            .foregroundColor(.white)
            .background(Color.blue)
            .clipShape(RoundedRectangle(cornerRadius: 8))
            Text("We need your permission to track you.")
                .foregroundColor(.gray)
                .font(.caption)
        }
    }
}

struct ErrorView: View {
    var errorText: String

    var body: some View {
        VStack {
            Image(systemName: "xmark.octagon")
		            .resizable()
                .frame(width: 100, height: 100, alignment: .center)
            Text(errorText)
        }
        .padding()
        .foregroundColor(.white)
        .background(Color.red)
    }
}

struct TrackingView: View {
    @EnvironmentObject var locationViewModel: LocationViewModel

    var body: some View {
        Text("Thanks!")
    }
}
Requesting Permission
One important thing to always remember is that SwiftUI is all about updating state. So our ViewModel should update the variables our View is observing. It is not the case with CoreLocation, but for frameworks that have an asynchronous way to request permission, your ViewModel should handle all the asynchronous tasks and simply update state variables when it’s done.
To request location access, start by adding these two methods to LocationViewModel:
func requestPermission() {
    locationManager.requestWhenInUseAuthorization()
}

func locationManagerDidChangeAuthorization(_ manager: CLLocationManager) {
    authorizationStatus = manager.authorizationStatus
}
Next, our Views should call requestPermission. It is perfectly acceptable to do this as a call to onAppear, but in this specific example we are prompting our user to tap a button, so we will call it as a response to a button action.
If you are following my code, cmd + f the word allowing perms and replace that print call with locationViewModel.requestPermission().
Button(action: {
    locationViewModel.requestPermission()
}, label: {
    Label("Allow tracking", systemImage: "location")
})
Now, when users tap our Allow tracking button, they will see the system prompt asking for permission. At this point, your plist file needs to be properly setup, so don’t forget to add the NSLocationWhenInUseUsageDescription key to it with a string explanation your user why they need to grant you permission.
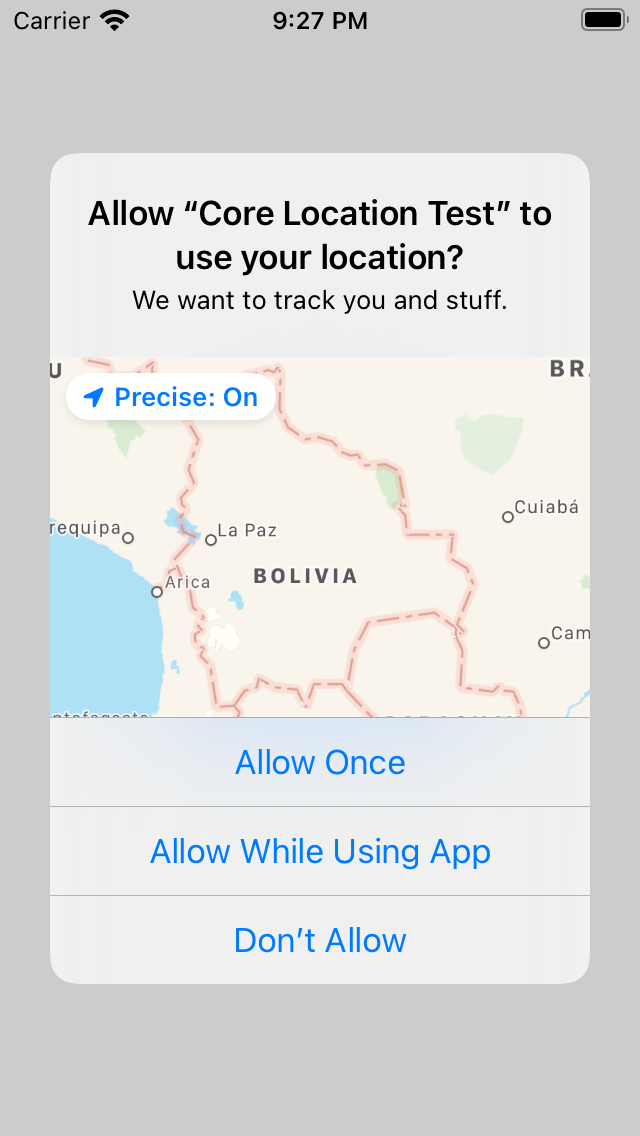
If you deny it, the view will automatically show the view explaining them the error. As you can see, this happens as soon as you tap a button on the system prompt. The delegate call, locationManagerDidChangeAuthorization(_ manager: CLLocationManager), updates our @Published variable, which, since our View is updating, results in our view being rebuilt.
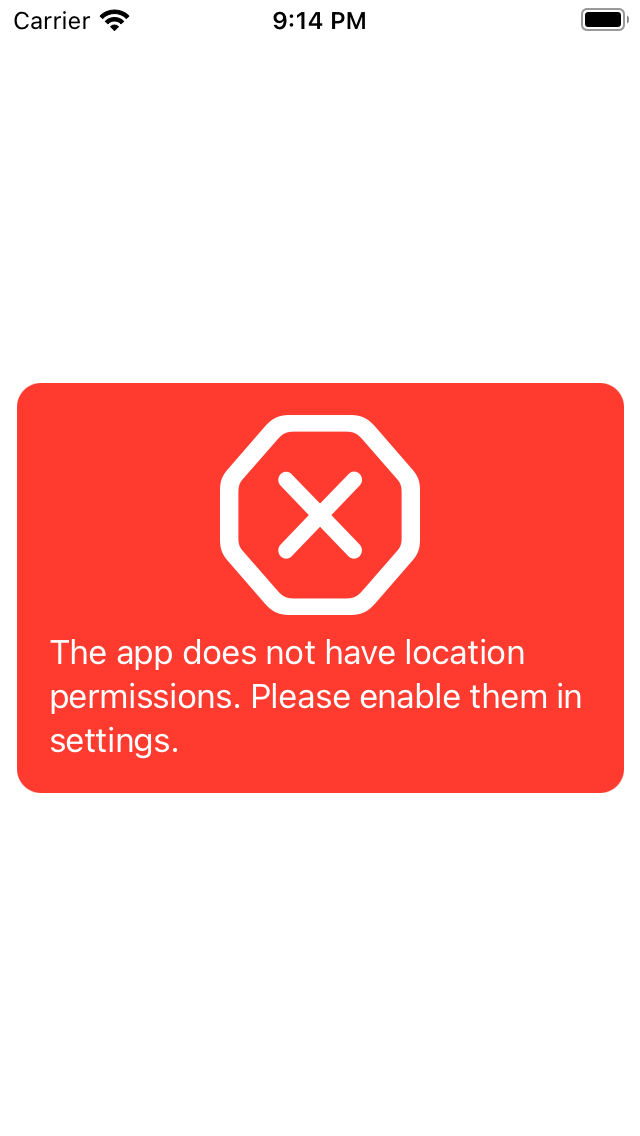
If you then change the permission in Settings to something else, the view will be rebuilt next time you launch the app. (Note: for some reason, the simulator was not showing my app in Settings, this may also happen to you).
For now, if you are running this code in the simulator, you can reset the permission settings running the following command on your Terminal, as explained in my Getting to Know the Simulator Better article:
xcrun simctl privacy booted reset all
Next time you relaunch the app, the permission will be reset and you will be able to see the prompt again.
When you see the prompt, give the app permission. You will simply see a text that says “Thanks!", but we will implement the rest of the logic there now. We are not going to do anything complex, for now will just show some text with GPS data.
Showing Coordinates
Now that you have implemented the permission, implementing other methods is exactly the same thing. To show the coordinates in real time, create a @Published property in your ViewModel where you will store the CLLocation objects, and simply read them in your view.
@Published var lastSeenLocation: CLLocation?
@Published var currentPlacemark: CLPlacemark?

// ...

// Methods

func locationManager(_ manager: CLLocationManager, didUpdateLocations locations: [CLLocation]) {
    lastSeenLocation = locations.first
    fetchCountryAndCity(for: locations.first)
}

func fetchCountryAndCity(for location: CLLocation?) {
    guard let location = location else { return }
    let geocoder = CLGeocoder()
    geocoder.reverseGeocodeLocation(location) { (placemarks, error) in
        self.currentPlacemark = placemarks?.first
    }
}
Then we can update TrackingView to show some data and update it in real time as we move around:
struct TrackingView: View {
    @EnvironmentObject var locationViewModel: LocationViewModel


    var body: some View {
        VStack {
            VStack {
                PairView(
                    leftText: "Latitude:",
                    rightText: String(coordinate?.latitude ?? 0)
                )
                PairView(
                    leftText: "Longitude:",
                    rightText: String(coordinate?.longitude ?? 0)
                )
                PairView(
                    leftText: "Altitude",
                    rightText: String(locationViewModel.lastSeenLocation?.altitude ?? 0)
                )
                PairView(
                    leftText: "Speed",
                    rightText: String(locationViewModel.lastSeenLocation?.speed ?? 0)
                )
                PairView(
                    leftText: "Country",
                    rightText: locationViewModel.currentPlacemark?.country ?? ""
                )
                PairView(leftText: "City", rightText: locationViewModel.currentPlacemark?.administrativeArea ?? ""
                )
            }
            .padding()
        }
    }

    var coordinate: CLLocationCoordinate2D? {
        locationViewModel.lastSeenLocation?.coordinate
    }
}
As you move around, the coordinates, your speed, and altitude will update in real time through the ViewModel.
The code that gets the city name and country - fetchCountryAndCity is an asynchronous bit of code. I included it to show you that it doesn’t really matter if the code is asynchronous, code-based, delegate based, or anything else. It all boils down to understanding how to separate your code from your View into a ViewModel. Avoid using asynchronous code in your views directly, and always use them in a view model instead.
The final product looks like this (I have manually censored it to avoid giving information about my current location):

The completed sample projected can be downloaded from here.
Conclusion
SwiftUI forces us to think differently. In this article we explored how we can integrate CoreLocation with SwiftUI, but what we learned here can be used with other frameworks that are either delegate or closure based. Keep this in mind when you want to interact with other frameworks (CoreBluetooth, photo, etc).
The most important takeaway from this article is learn and understand when to use a ViewModel. If you are able to grasp the contents of this article, you will be able to integrate anything else (including Firebase!) in SwiftUI.