
As you work on projects, you may notice that there’s one thing that can be really improved: Creating new files. Every single developer has gone to the File > New File screen on Xcode to create files before. Whether to create new view controllers, data models, or whatever else, it is one of the most common places you may use in your day to day life as an iOS developers.
When you create a new file, chances are you have a template ready to work on top of rather than creating everything from scratch (unless, of course, you are creating a new empty file). Think about all the boilerplate that is ready for you when you create a new view controller. You don’t have to implement the most common or required method as the template will at the very least provide the declarations for you.
In this article, we will explore how we can tap into the power of Xcode templates by creating our own.
Template Format
Template are simple directory structures stored in the ~/Library/Developer/Xcode/Templates/File Templates/Custom Templates directory. This directory does not exist by default, so you will need to create it when you want to start using custom templates. Within this directory, you need more directories whose names will vary depending on the context of your template.
The next directory will be the platform name for which this template is available. Name it iOS to make it available on iOS.
The next directory is one of the four tabs at the top of the “New File” option.
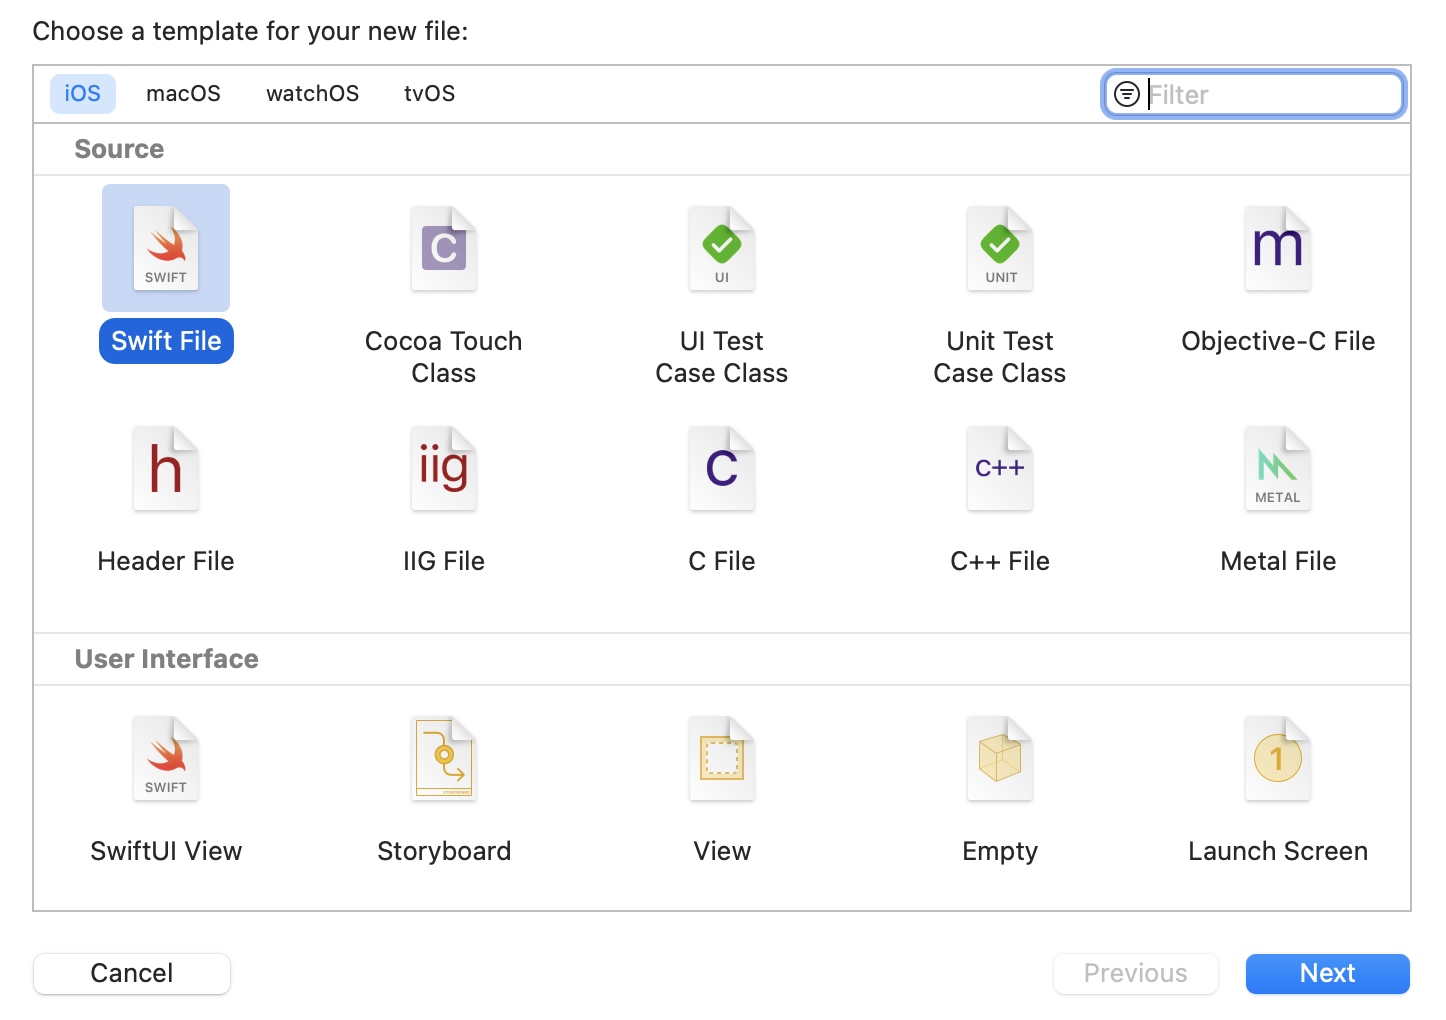
So, if you want a User Interface template, name the directory User Interface. If you want a Source template, write Source.
In order to create a new template, create a new directory within that directory, give it the .xctemplate extension, and store the following files within:
- TemplateIcon.png/[email protected]: Optional thumbnails that will be visible in the New File Xcode window.
- TemplateInfo.plist: Use this file to provide basic template information, such as a summary and a description. We will explore the basic configurations for this file, but whenever you are lost, you can take a look at one of Xcode’s provided templates (stored in
/Applications/Xcode.app/Contents/Developer/Platforms/iPhoneOS.platform/Developer/Library/Xcode/Templates/File Templates) for inspiration. - Base template file: This is the base template file. If you name it
___FILEBASENAME___.swift, the new file will have the same name the user entered in the New File window. We can force a suffix by adding anything after the last set of underscores__, like___FILEBASENAME___Product.swift. If you were building UI templates, you could also provide___FILEBASENAME___.storyboardand so forth.
The fascinating thing about Xcode’s templates is that they can be very complex. If you browse the /Applications/Xcode.app/Contents/Developer/Platforms/iPhoneOS.platform/Developer/Library/Xcode/Templates/File Templates/Source/Cocoa Touch Class.xctemplate directory, you will see that, other than the files we mentioned above, it has many directories, each with multiple files. This is because when we use that template we can provide a Cocoa Touch class to subclass from. This example is overkill, so we will create something much simpler, but know you can reference it as your need for complex templates grows.
In this article we will create a template for Products, so, the full directory structure looks like this:
~/Library/Developer/Xcode/Templates/File Templates/Custom Templates/iOS/Source/Product.xctemplate
TemplateInfo.plist
The TemplateInfo can be pretty wild. You will use it to define how simple or complex your template will end up being.
This is a simple starting point.
<?xml version="1.0" encoding="UTF-8"?>
<!DOCTYPE plist PUBLIC "-//Apple//DTD PLIST 1.0//EN" "http://www.apple.com/DTDs/PropertyList-1.0.dtd">
<plist version="1.0">
<dict>
	<key>SupportsSwiftPackage</key>
	<true/>
	<key>Kind</key>
	<string>Xcode.IDEFoundation.TextSubstitutionFileTemplateKind</string>
	<key>Description</key>
	<string>A Product subclass.</string>
	<key>Summary</key>
	<string>A product for representing items available in store.</string>
	<key>SortOrder</key>
	<string>2</string>
	<key>DefaultCompletionName</key>
	<string>MyProduct</string>
	<key>Platforms</key>
	<array>
		<string>com.apple.platform.iphoneos</string>
	</array>
</dict>
</plist>
The Description and Summary will be immediately visible, the other parameters will have other implications. For example, DefaultCompletionName will be the default name the file will be in the name field.
We are now going to create an options array on our template and this is where it gets interesting, because when the user creates the file, we can prompt a vast array of different options of different types. We can force those options to be mandatory or not.
The options consist of:
- Identifier: A unique identifier for our option. We can later refer to the value of the option by referencing the identifier as a variable, like this:
___VARIABLE_productType___ - Required: A boolean indicating whether this item should be mandatory or not.
- Description: A Description of the option (the the user sees)
- Type: The type of option this is. You can choose between
checkbox,text,combo,static, orpopup.
Your plist should be looking like this:
<?xml version="1.0" encoding="UTF-8"?>
<!DOCTYPE plist PUBLIC "-//Apple//DTD PLIST 1.0//EN" "http://www.apple.com/DTDs/PropertyList-1.0.dtd">
<plist version="1.0">
<dict>
	<key>SupportsSwiftPackage</key>
	<true/>
	<key>Kind</key>
	<string>Xcode.IDEFoundation.TextSubstitutionFileTemplateKind</string>
	<key>Description</key>
	<string>A Product subclass.</string>
	<key>Summary</key>
	<string>A product for representing items available in store.</string>
	<key>SortOrder</key>
	<string>2</string>
	<key>DefaultCompletionName</key>
	<string>MyProduct</string>
	<key>Platforms</key>
	<array>
		<string>com.apple.platform.iphoneos</string>
	</array>
	<key>Options</key>
	<array>
		<dict>
			<key>Identifier</key>
			<string>productType</string>
			<key>Required</key>
			<true/>
			<key>Name</key>
			<string>Product Type</string>
			<key>Description</key>
			<string>New Product Prefix</string>
			<key>Type</key>
			<string>text</string>
			<key>Not Persisted</key>
			<true/>
		</dict>
	</array>
</dict>
</plist>
You can provide an arbitrary number of options to make your templates flexible and configurable.
With this, we can provide a productType. But let’s make it more interesting so users can provide a bit more info.
<?xml version="1.0" encoding="UTF-8"?>
<!DOCTYPE plist PUBLIC "-//Apple//DTD PLIST 1.0//EN" "http://www.apple.com/DTDs/PropertyList-1.0.dtd">
<plist version="1.0">
<dict>
	<key>SupportsSwiftPackage</key>
	<true/>
	<key>Kind</key>
	<string>Xcode.IDEFoundation.TextSubstitutionFileTemplateKind</string>
	<key>Description</key>
	<string>A Product subclass.</string>
	<key>Summary</key>
	<string>A product for representing items available in store.</string>
	<key>SortOrder</key>
	<string>2</string>
	<key>DefaultCompletionName</key>
	<string>MyProduct</string>
	<key>Platforms</key>
	<array>
		<string>com.apple.platform.iphoneos</string>
	</array>
	<key>Options</key>
	<array>
		<dict>
			<key>Identifier</key>
			<string>productName</string>
			<key>Required</key>
			<true/>
			<key>Name</key>
			<string>Product Name</string>
			<key>Description</key>
			<string>New Product Prefix</string>
			<key>Type</key>
			<string>text</string>
			<key>Not Persisted</key>
			<true/>
		</dict>
		<dict>
			<key>Identifier</key>
			<string>productType</string>
			<key>Required</key>
			<true/>
			<key>Name</key>
			<string>Product Type</string>
			<key>Description</key>
			<string>New Product Prefix</string>
			<key>Type</key>
			<string>text</string>
			<key>Not Persisted</key>
			<true/>
		</dict>
	</array>
</dict>
</plist>
Users can now provide a product type and a product name. Note that productName is a “special” variable Xcode will use to name the file itself, so think of it as a reversed variable. The prompt looks like this:

Building the Template
Our template will help users create subclasses of this class:
/// This is an abstract class for all products.
open class Product {
  public let name: String

  public let cost: Double

  public init(name: String, cost: Double) {
    self.name = name
    self.cost = cost
  }

  public func calculateTotalCost(itemQuantity: Int) -> Double {
    return cost * Double(itemQuantity)
  }

  public func itemsInStock() -> Int {
    fatalError("Requires implementation")
  }
}
___FILEBASENAME___Product.swift:
This file has the Product suffix because we want all classes created with this template to be properly suffixed. If the product is Computer, we want its full name to be ComputerProduct.
The template is below:
// ___FILEHEADER___

import Foundation

class ___FILEBASENAME___Product: Product {
  let brand: String

  let productType = "___VARIABLE_productType___"

  init(name: String, cost: Double, brand: String) {
    self.brand = brand
    super.init(name: name, cost: cost)
  }

  override func itemsInStock() -> Int {
    <#Return the amount #>
  }
}
In this example we can appreciate a few things:
___FILEHEADER___, which will autogenerate the default header for us.class ___FILEBASENAME___, so our class name can beComputerProduct, orFruitProduct. You may be thinking that this is wrong and it should be___FILEBASENAME___Product. This is not the case, because the filename on disk defines the___FILEBASENAME___variable in your template.___VARIABLE_productType___, where we grab the value of theproductTypeidentifier in the plist.<#Return the amount #>, we can use code placeholders normally.
Conclusion
You can download this sample template here.
The Templates feature is incredibly complete and it can look intimidating, but it’s really powerful when you understand how it works. Creating templates for common files you create can save you a lot of time, although the initial configuration can take a while. I recommend you invest the time into learning how to create your own File Templates (fun fact - you can even create your own Project Templates) if you find yourself doing a lot of repetitive work that can’t be easily abstracted.