
Writing Command Line Tools in Swift Using ArgumentParser, Part 6: Releasing And Installing Our Command Line Tool
Published on
I wasn’t sure if I should include this article as part of this series. But for the sake of completion, I decided to include it. This article is very short, but it tells us how to actually install our own tool in a system so we can start using it without writing its full path.
To recap, and before I end my series in Swift’s ArgumentParser, let’s give a quick overview of everything we have learned so far:
- We learned the very basics of ArgumentParser, and we learned about the basic building blocks.
- We learned how to validate user input and deal with errors.
- We learned how to organize our command line tool in subcommands.
- We learned how to customize our pages to customize help.
- Finally, we learned how to make use of asynchronous APIs within our tool.
While ArgumentParser is not ready to be used in production, you can finally start using it for your own projects.
Compiling for Release and Installation
Compiling
To compile your command line tool, we need to use Xcode to create an Archive of it.
On Xcode, you can directly go to Product > and Archive. When the the project is done archiving, you will see the organizer window. Right click your project here and select “Show in Finder”.

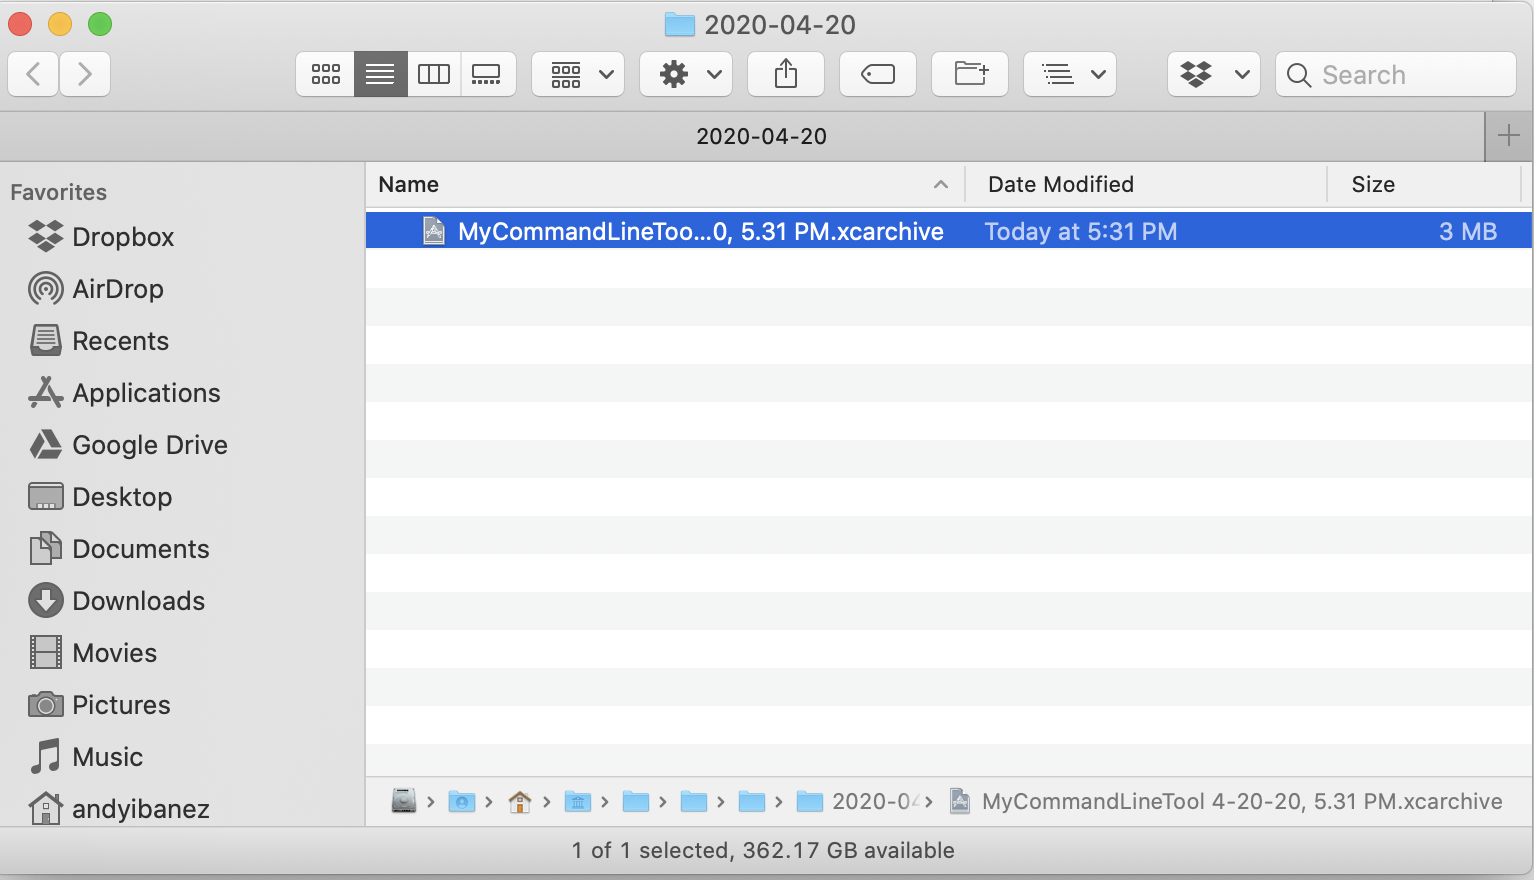
Right click the xcarchive file and select Show Package Contents.
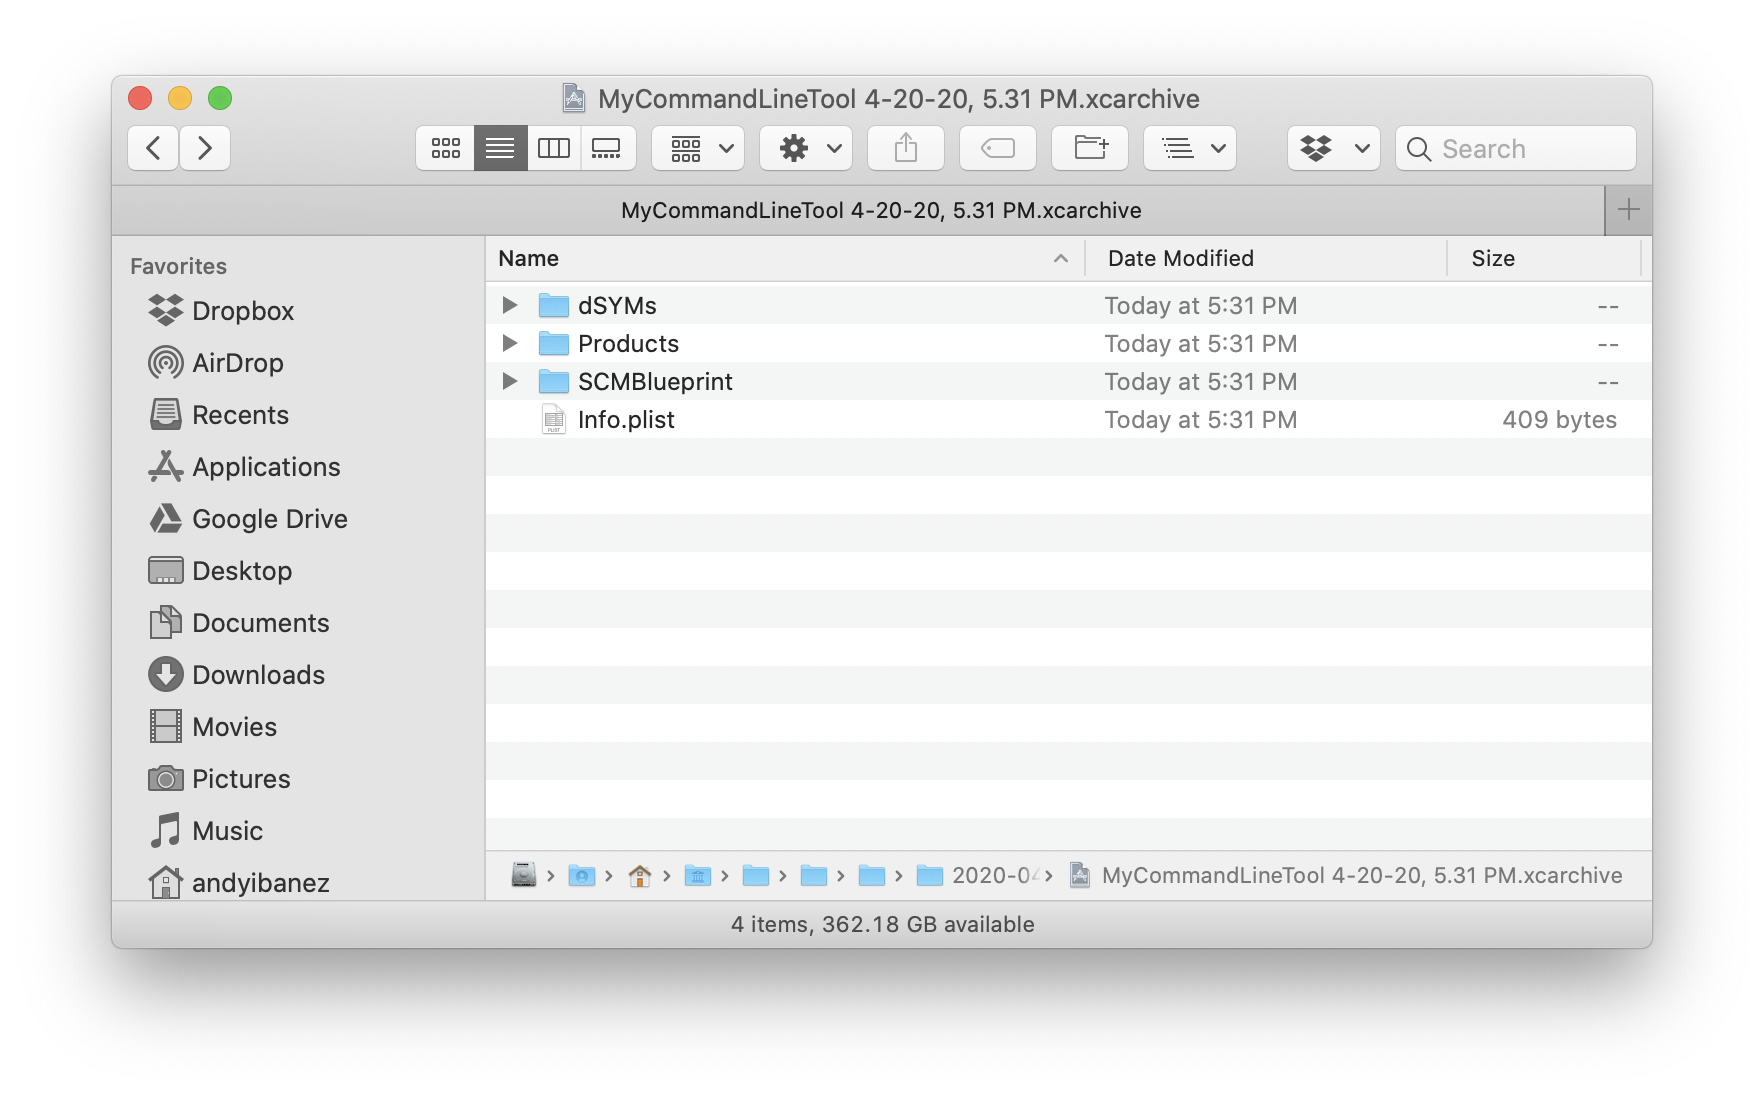
Your final binary is located inside the Products > usr > local > bin > YOUR_BINARY
Installing
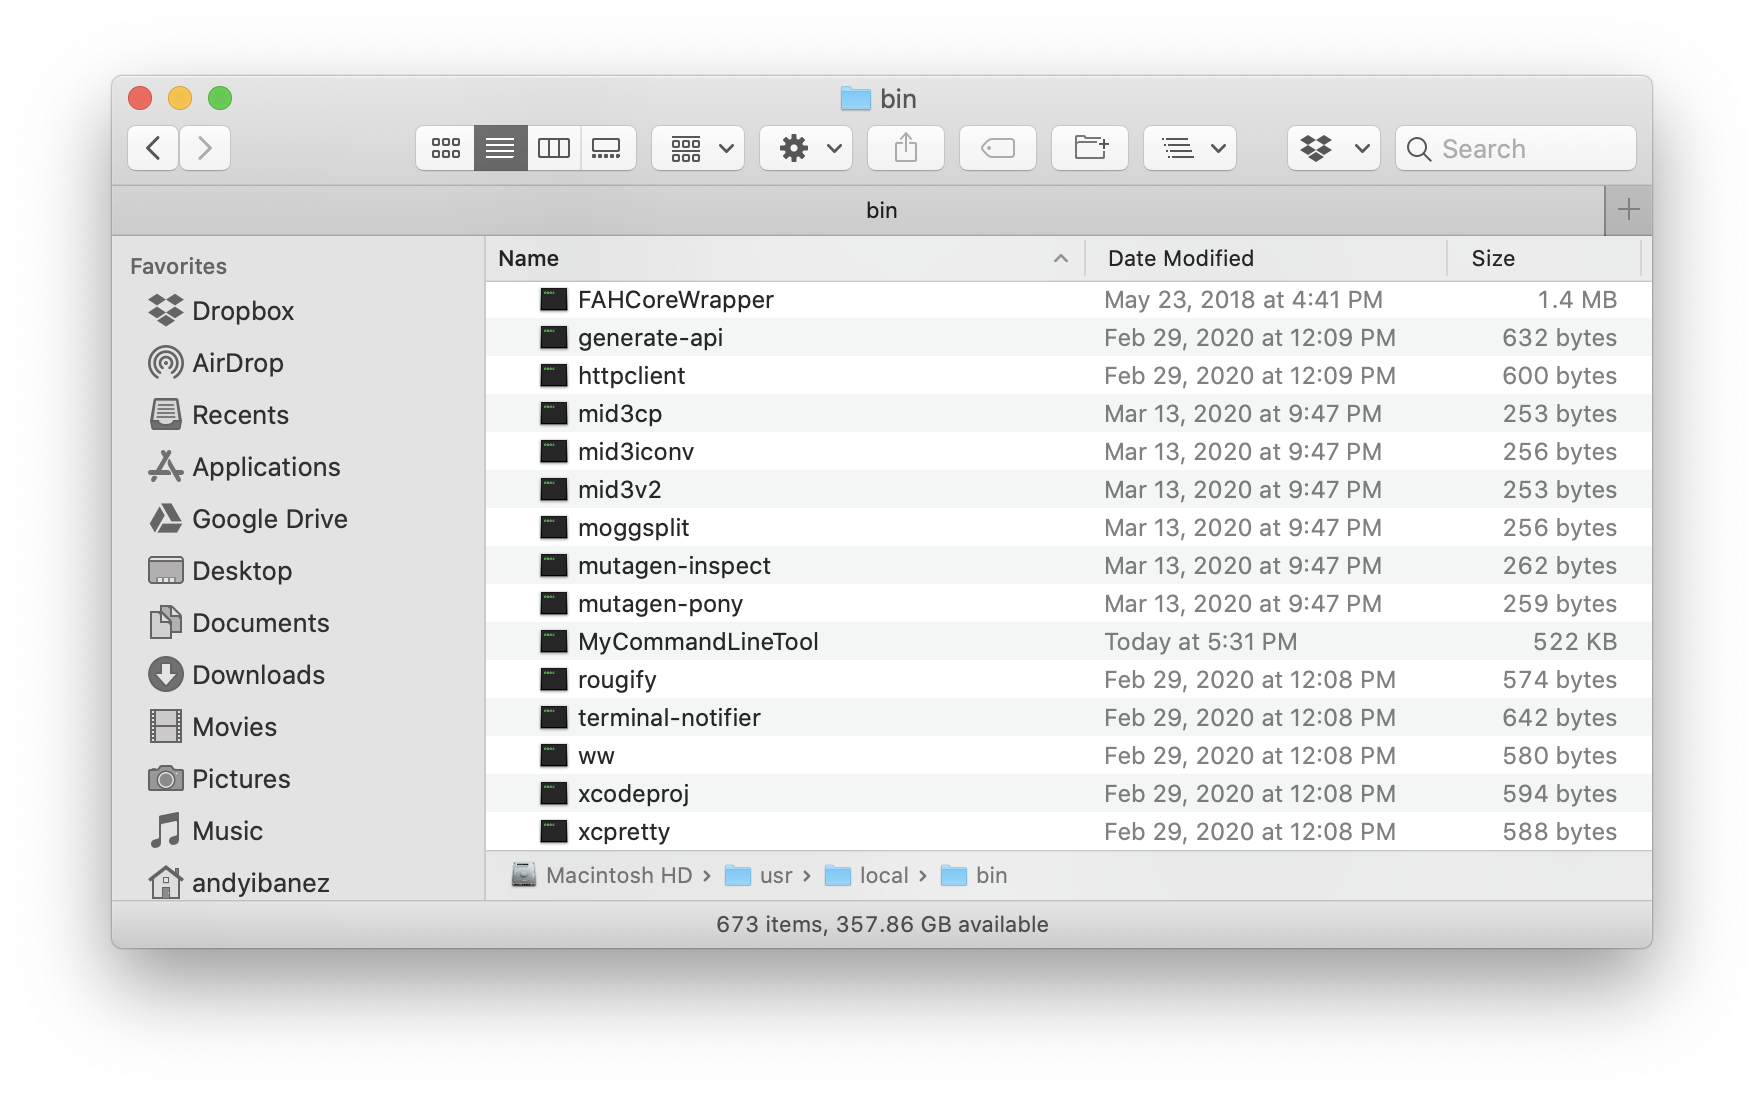
By default, Terminal programs a set of directories they search the command line tools in. Installing our command line tool is as easy as moving our binary to one of these default directories.
One such directory is actually seen above. UNIX systems have a /usr/local/bin directory where they keep their command line tools. This directory is part of the famous $PATH variable, which you have undoubtedly heard about. All the directories that are part of the $PATH are search paths for command line tools. When you execute a command line tool, such as cat, vim, tail, or others, the Terminal will look for their binaries in these folders.
So copy the binary you obtained from the previous section. Then in Finder, press Cmd + Shift + G. It will open a tiny window that lets you go to any directory in your system. Write /usr/local/bin, and press Enter.
Then simply copy your command line tool here.
Now we can use our command line from any Terminal window without having to specify its full path.
andyibanez@Andys-iMac / % MyCommandLineTool 1
----------------------------------------------------------

INFO FOR POKÉMON: 1

ESPECIES: bulbasaur

----------------------------------------------------------
Conclusion
Our Command-Line tools can be installed by simply pasting them in a directory specified in the user’s $PATH variable. The user may configure some additional paths, but there’s a few default ones we can use. Once our tool is there, our users can use our tools very naturally, without having to specify their full name.